A successful architectural photography shoot
starts long before the cameras come out. While lighting, weather and timing play an important role, preparation is often the difference between good images and exceptional ones. Whether you're an architect, developer, contractor, art director or interior designer, a little planning can help ensure your project is documented at its very best. It can also make the shoot more efficient, reduce the need for retouching and help create imagery that will be useful for years to come.
Why Preparation Matters
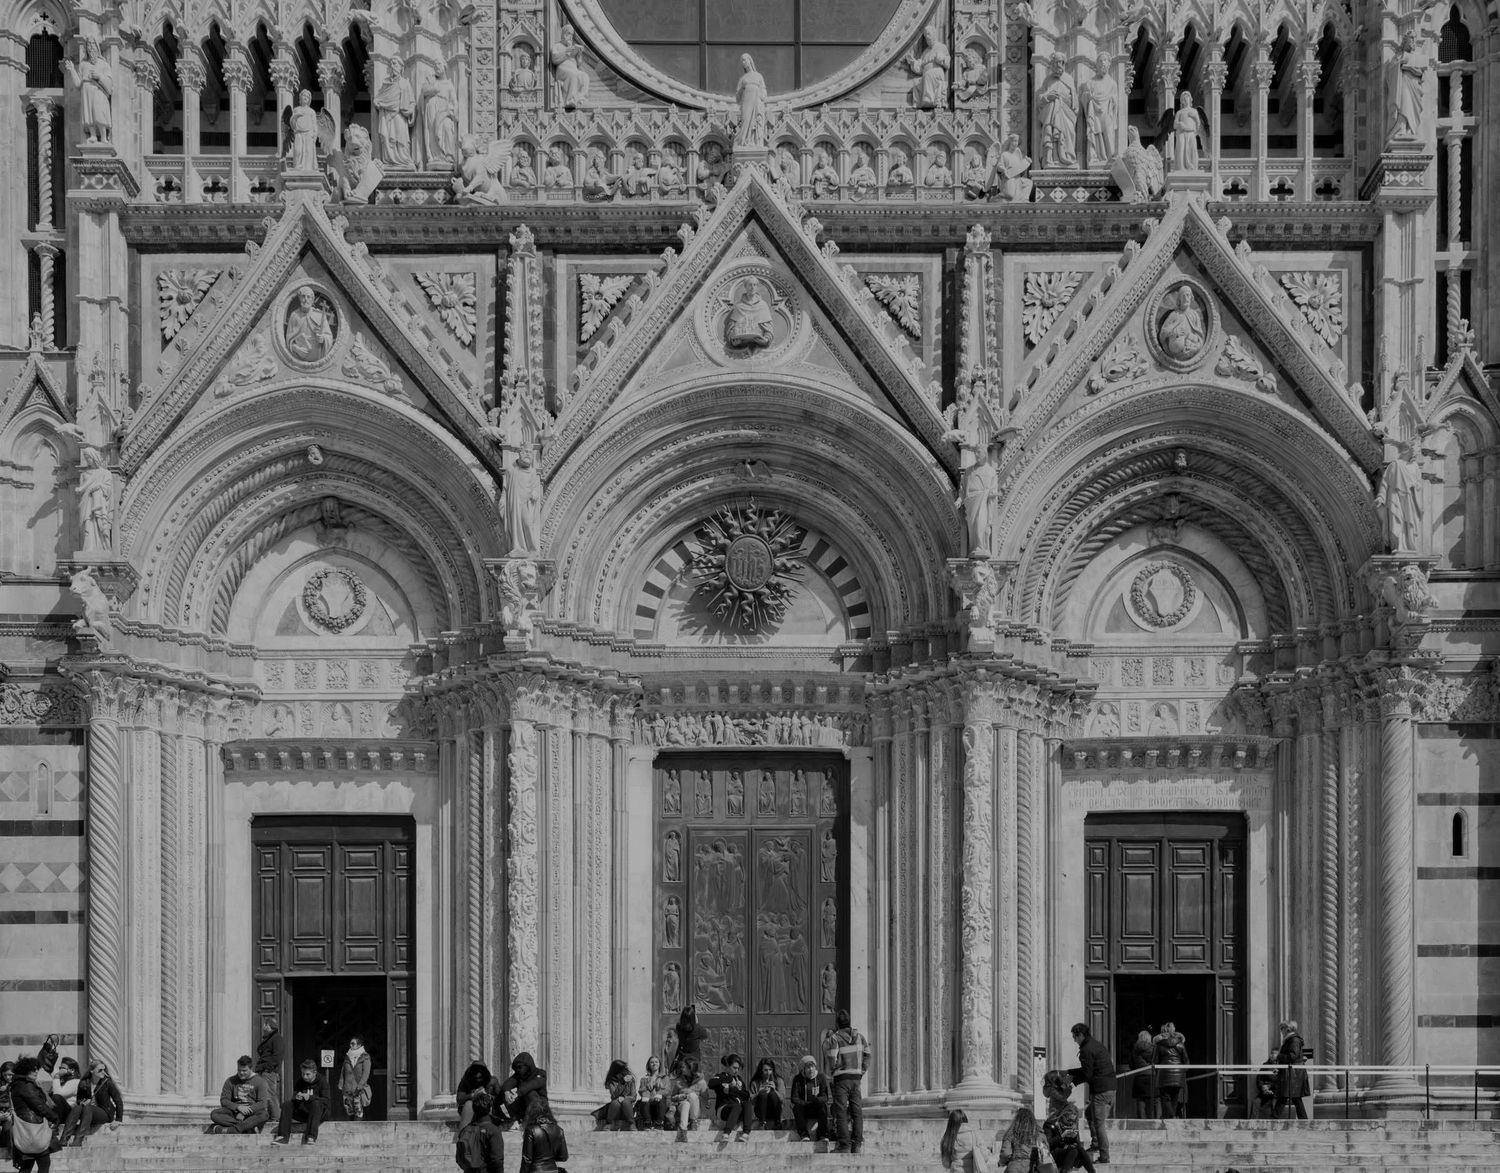
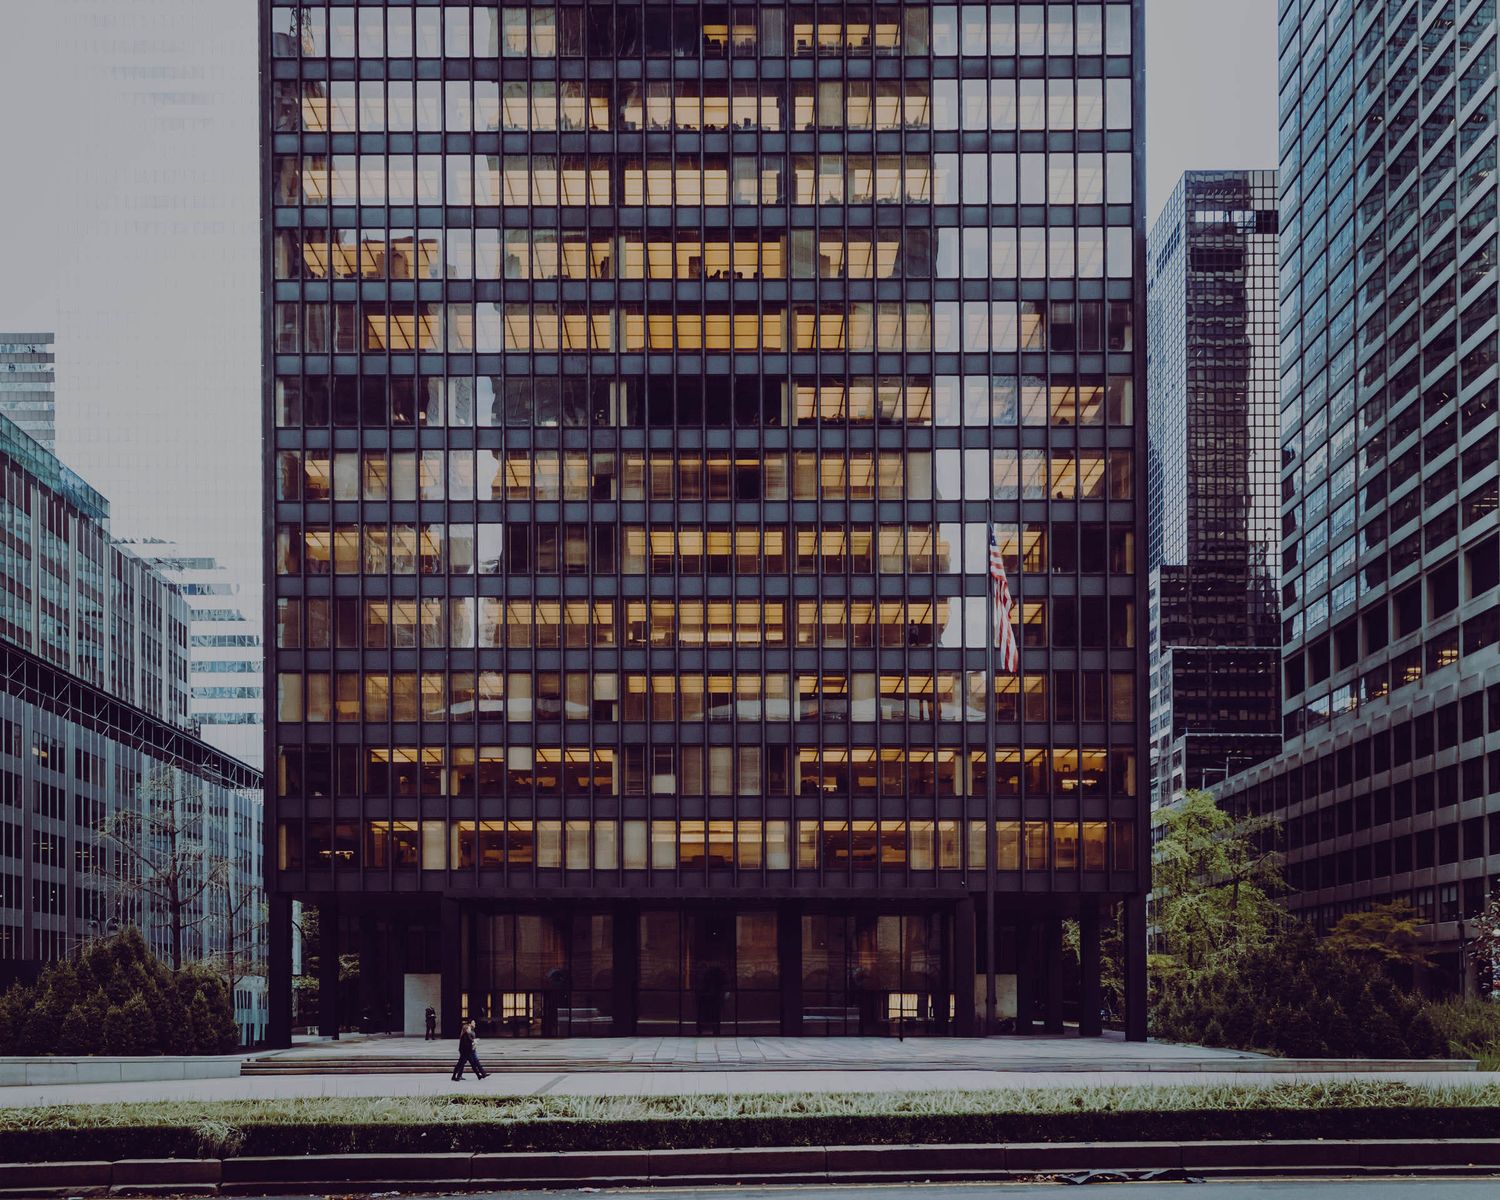
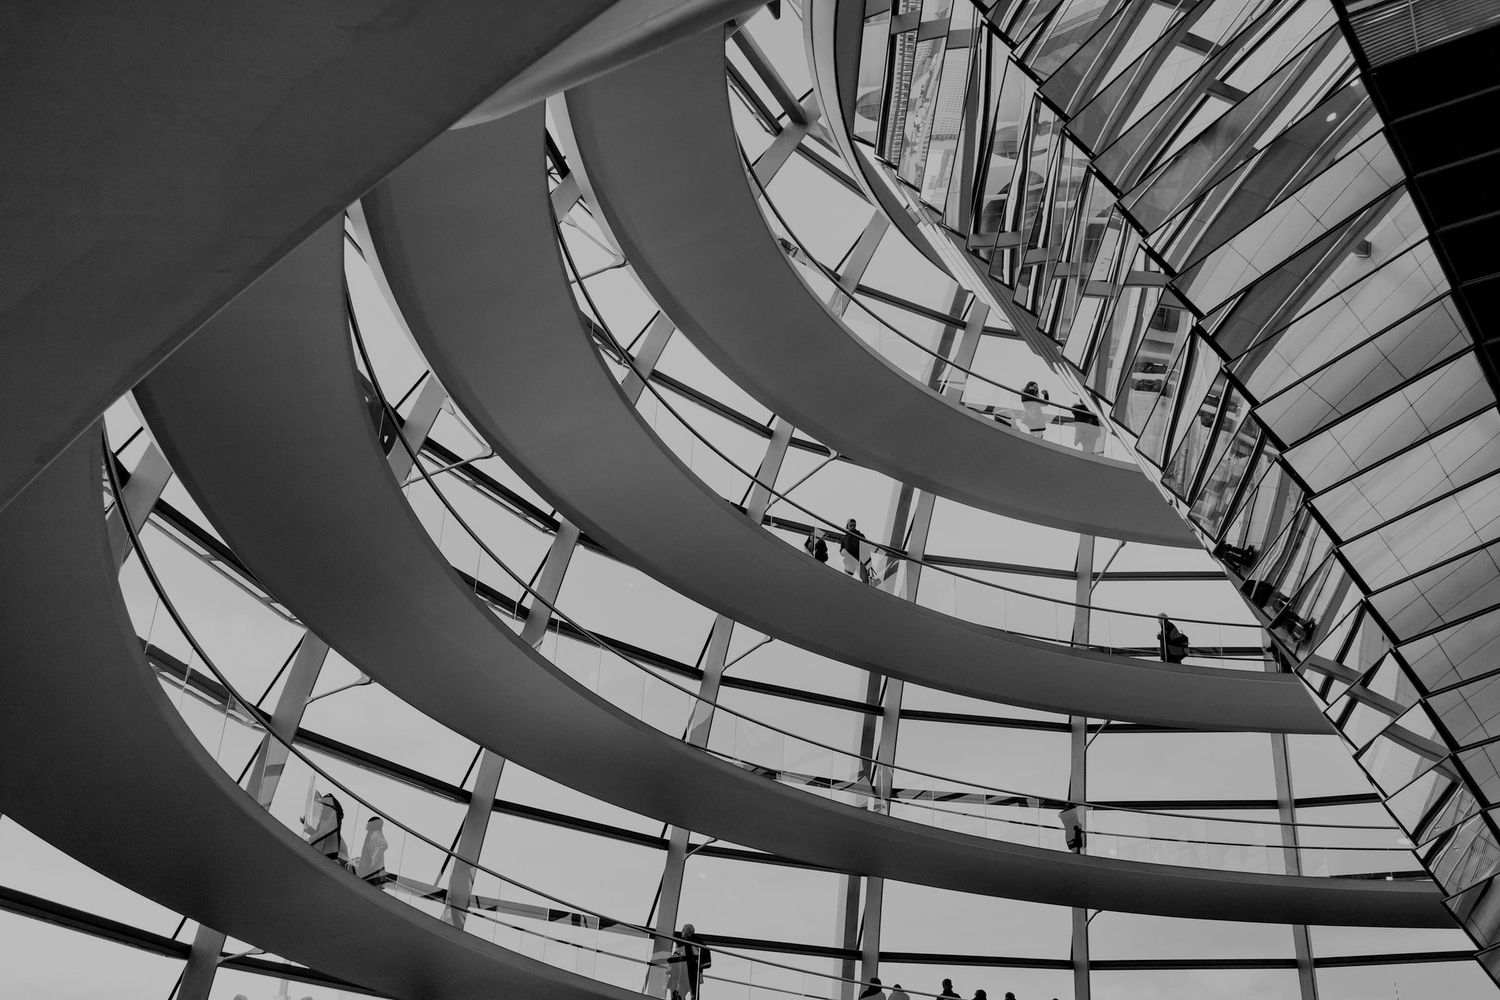
Architectural photography is about more than recording a finished building. The goal is to communicate design intent, materiality, atmosphere and the experience of occupying a space.
Even small distractions can draw attention away from the architecture itself. A missing plant, temporary signage, unfinished landscaping or a cluttered desk can all become the focal point of an image for the wrong reasons.
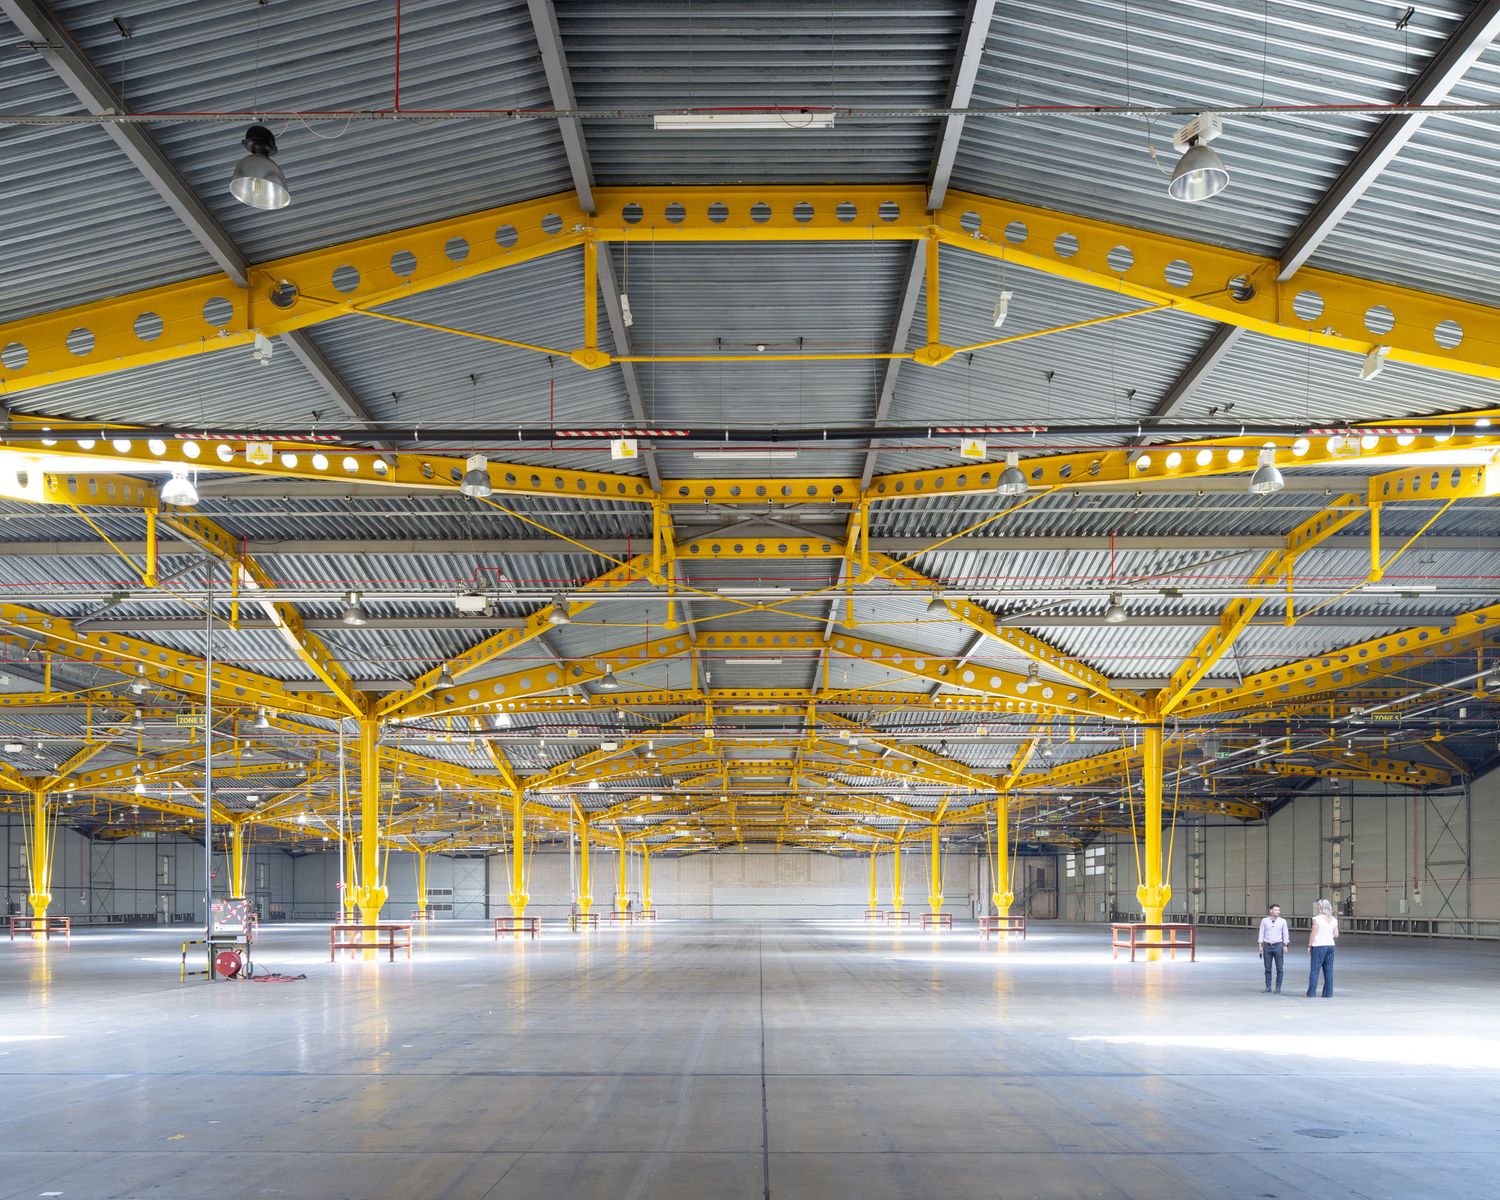
Complete the Project Wherever Possible
This may sound obvious, but many shoots are scheduled before a project is truly finished.
Whenever possible, try to ensure the following elements are complete:
- Landscaping installed and established
- Temporary fencing removed
- Signage fitted
- Cleaning completed
- Furniture delivered and arranged
- Moving in boxes removed
- Spaces setup, planting installed, computers setup and operational
- Building snagging finished
- Construction materials, skips, site huts and equipment removed
If some items cannot be completed before the shoot, discuss them with your photographer in advance. In some cases, minor issues can be addressed in post-production. Significant omissions are usually best resolved on site before photography begins.
Think About How the Building Will Be Used
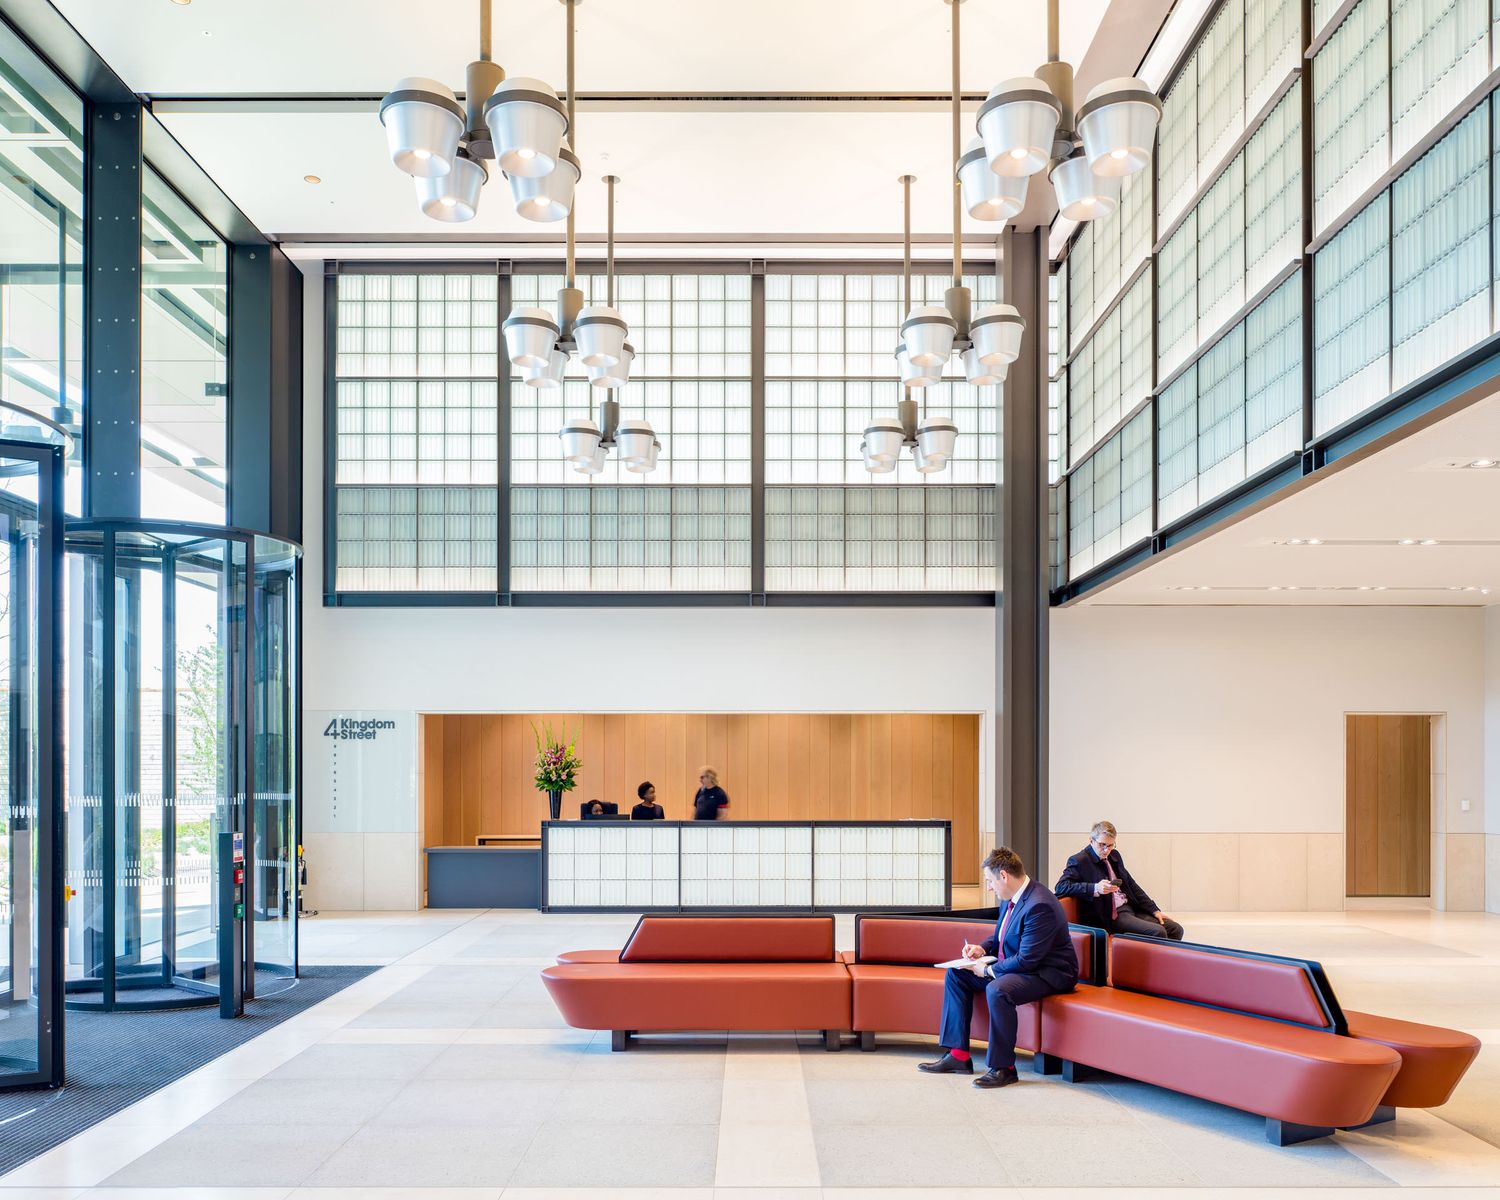
Some buildings photograph best when empty. Others become more compelling when occupied.
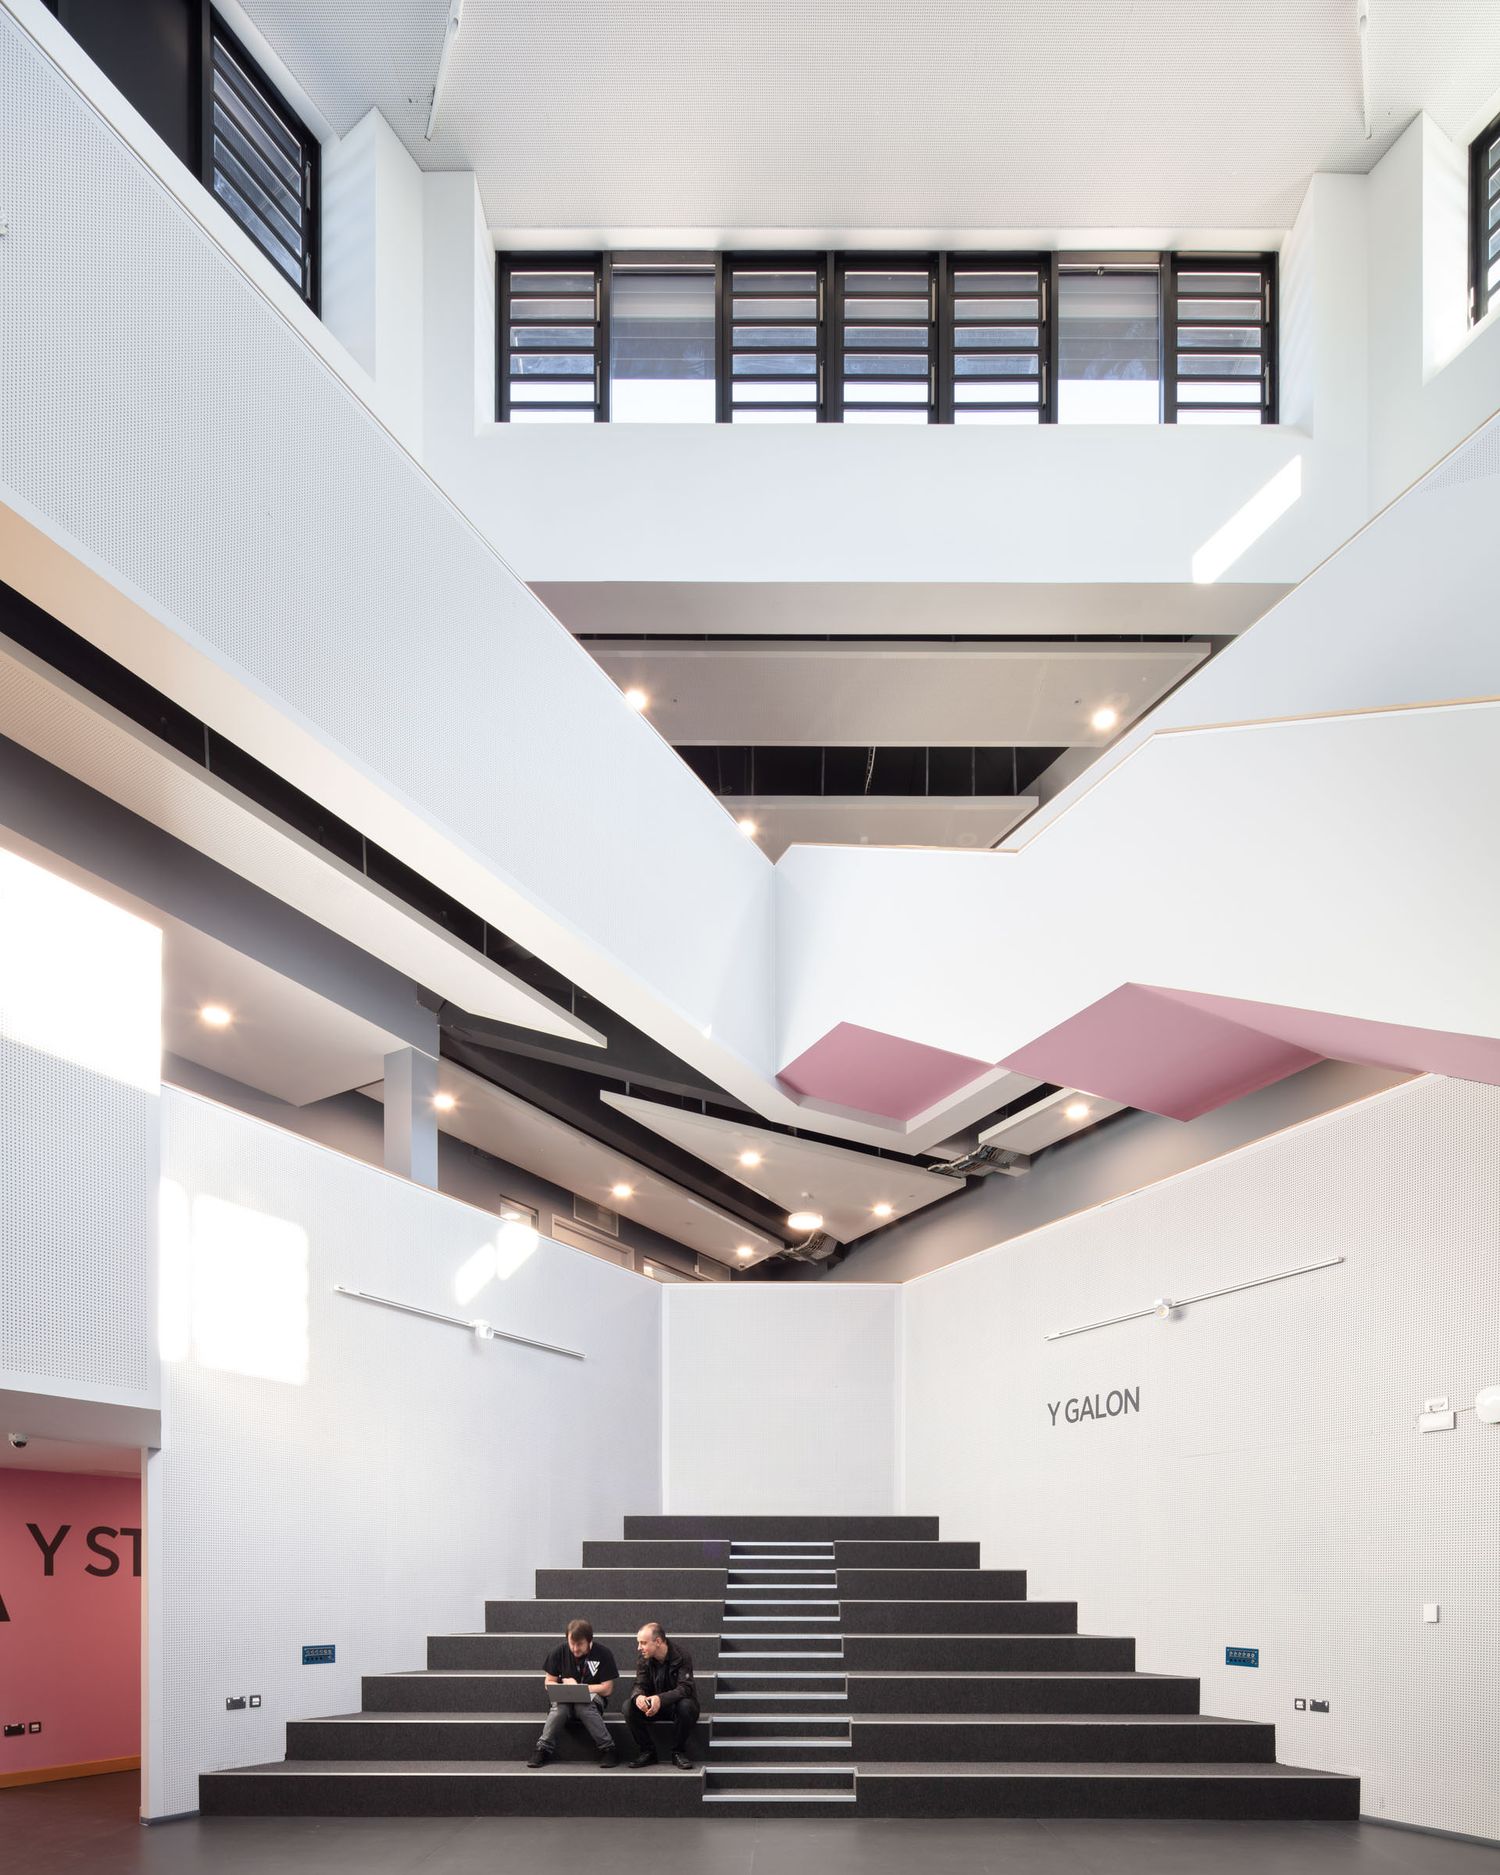
A school without students, an office without staff or a public building without visitors can sometimes feel lifeless. Thoughtfully introducing people can help communicate scale, purpose and atmosphere.
Before the shoot, consider:
- Will users be present? If so, can we include them in the photography?
- Are model occupants required?
- Are model releases required?
- Are there times of day when activity is highest?
- Are permissions required for photography?
The most successful architectural images often balance the integrity of the design with evidence of real life.
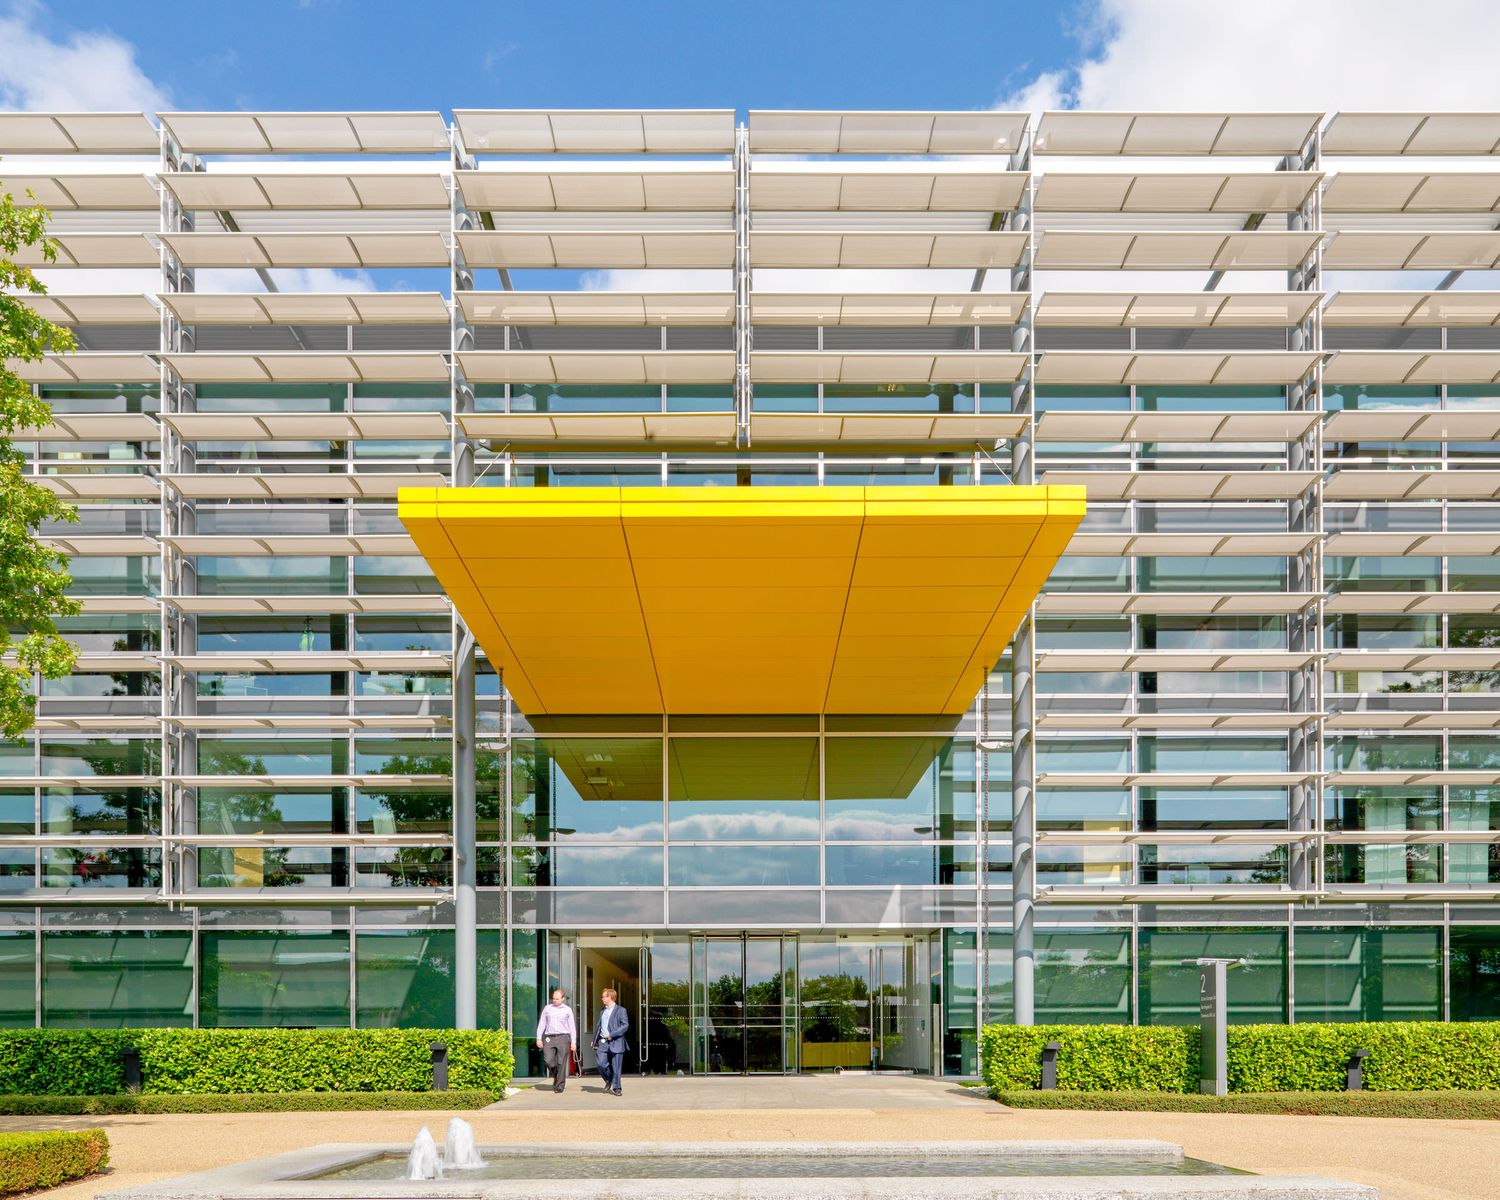
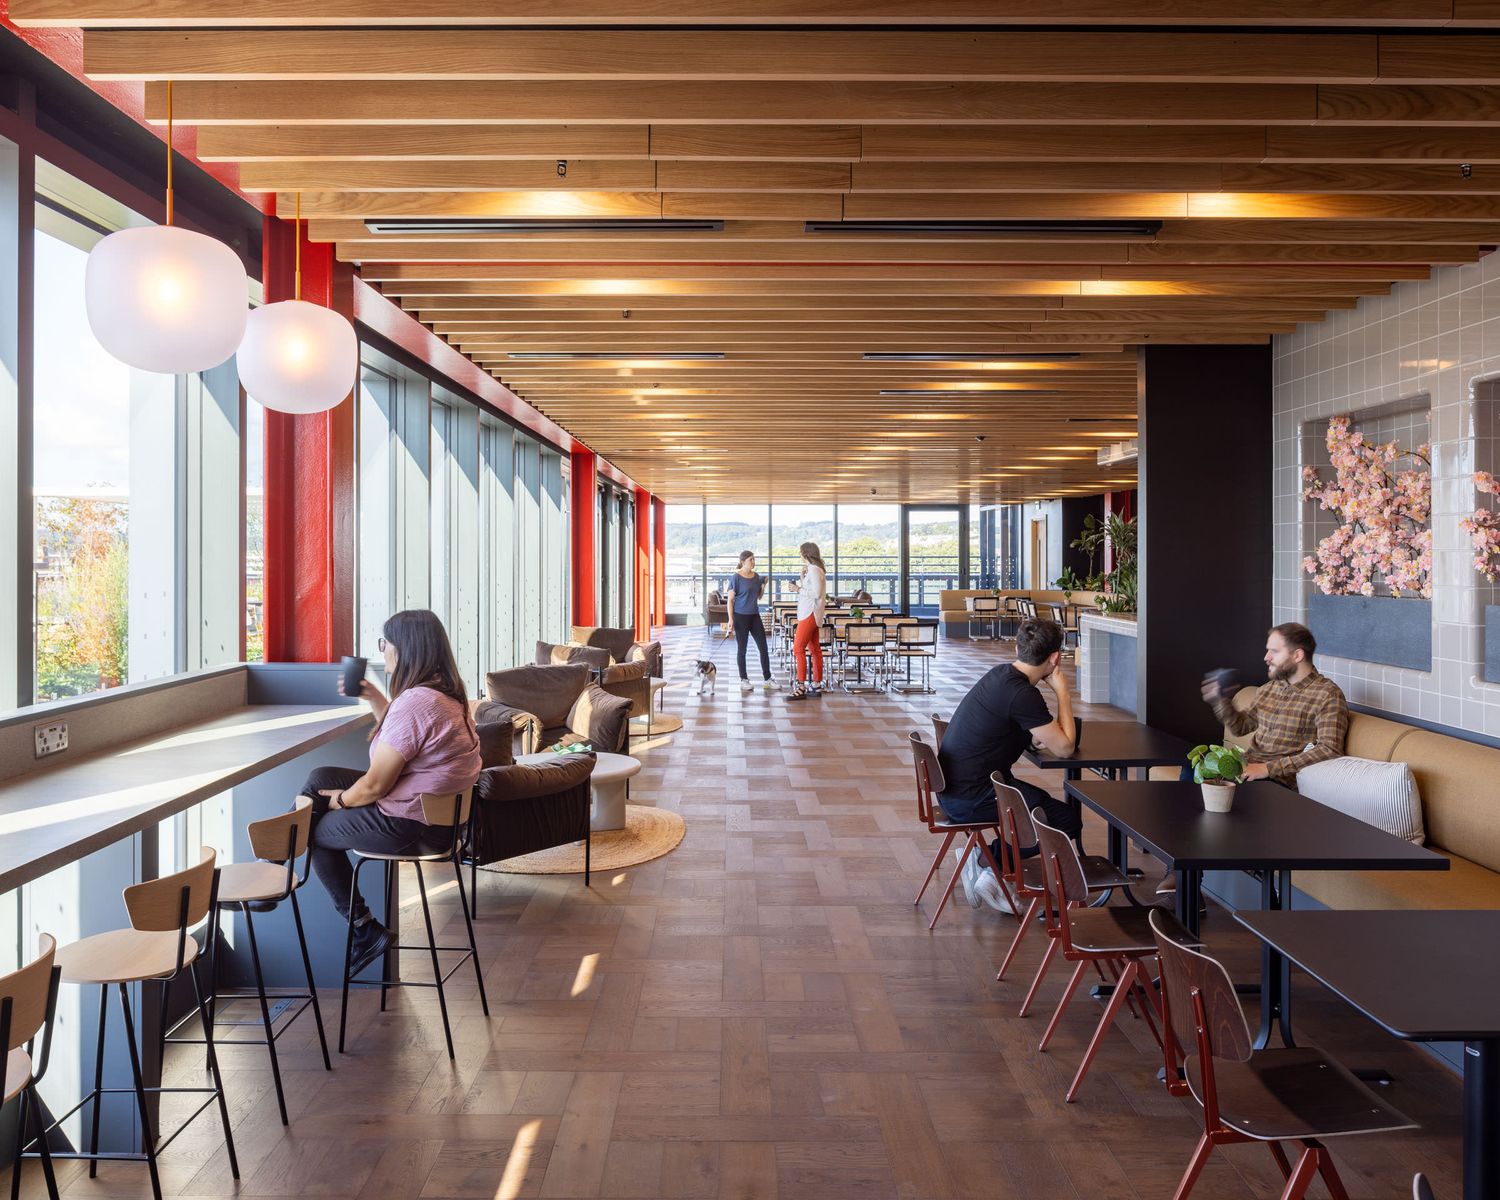
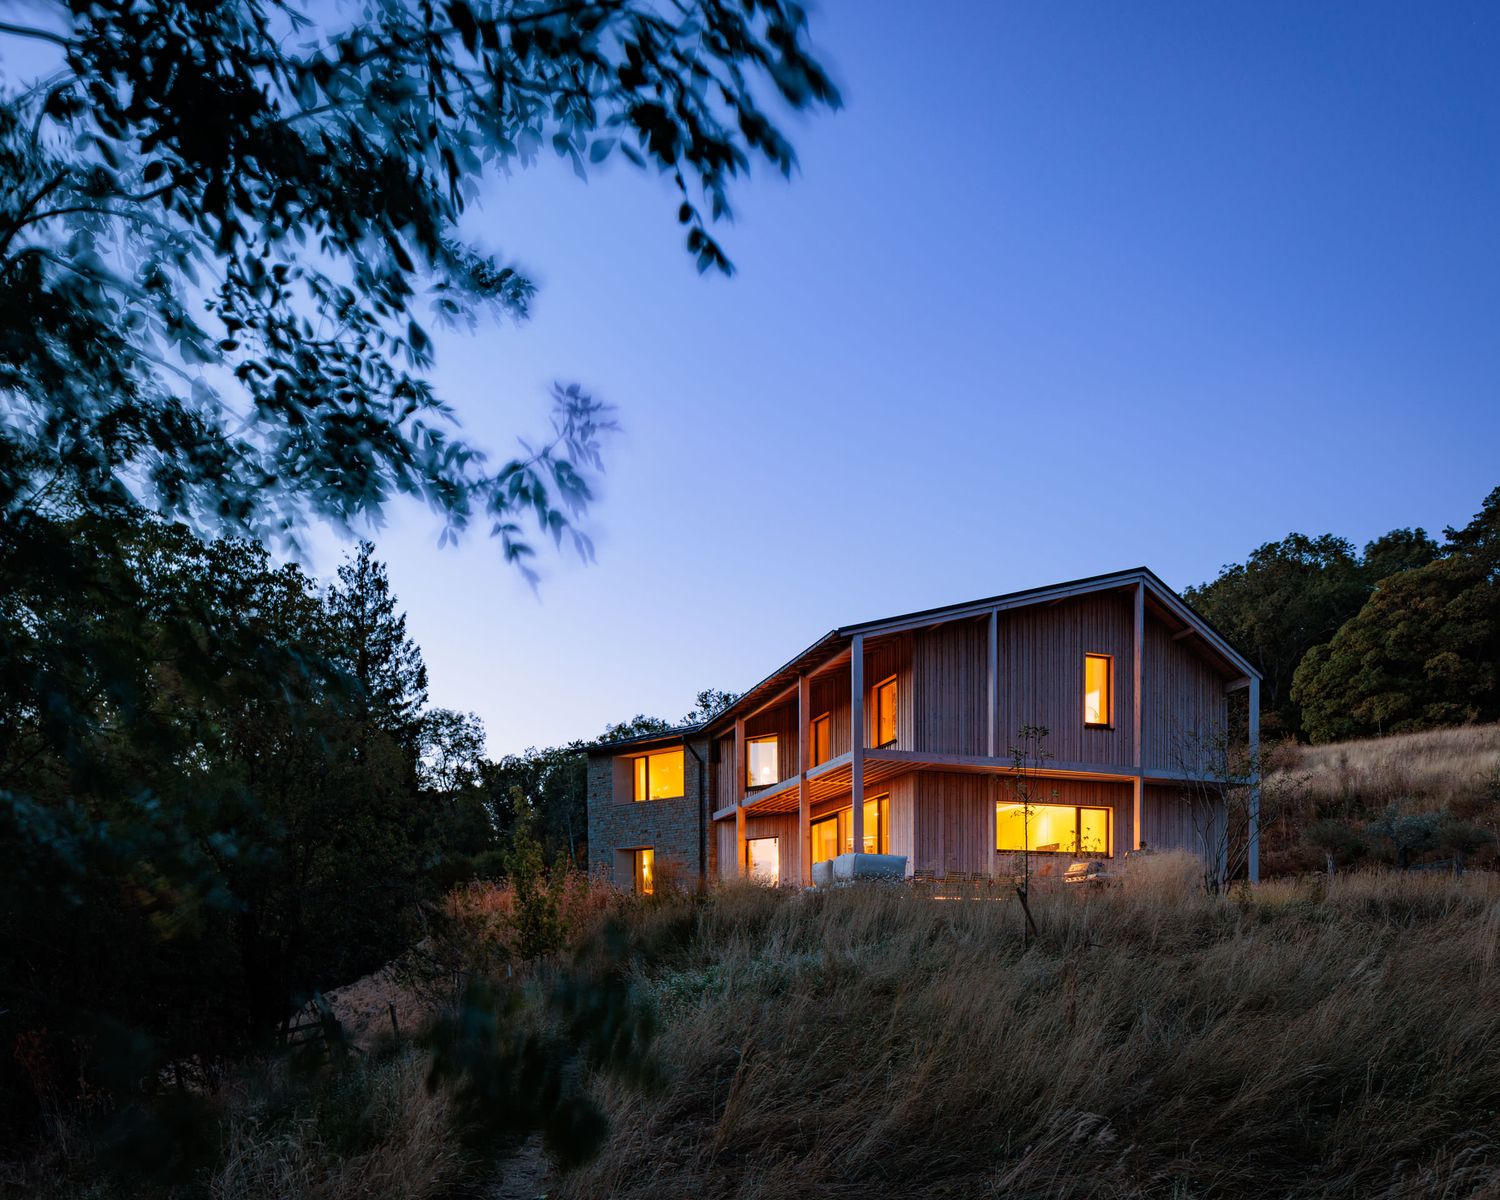
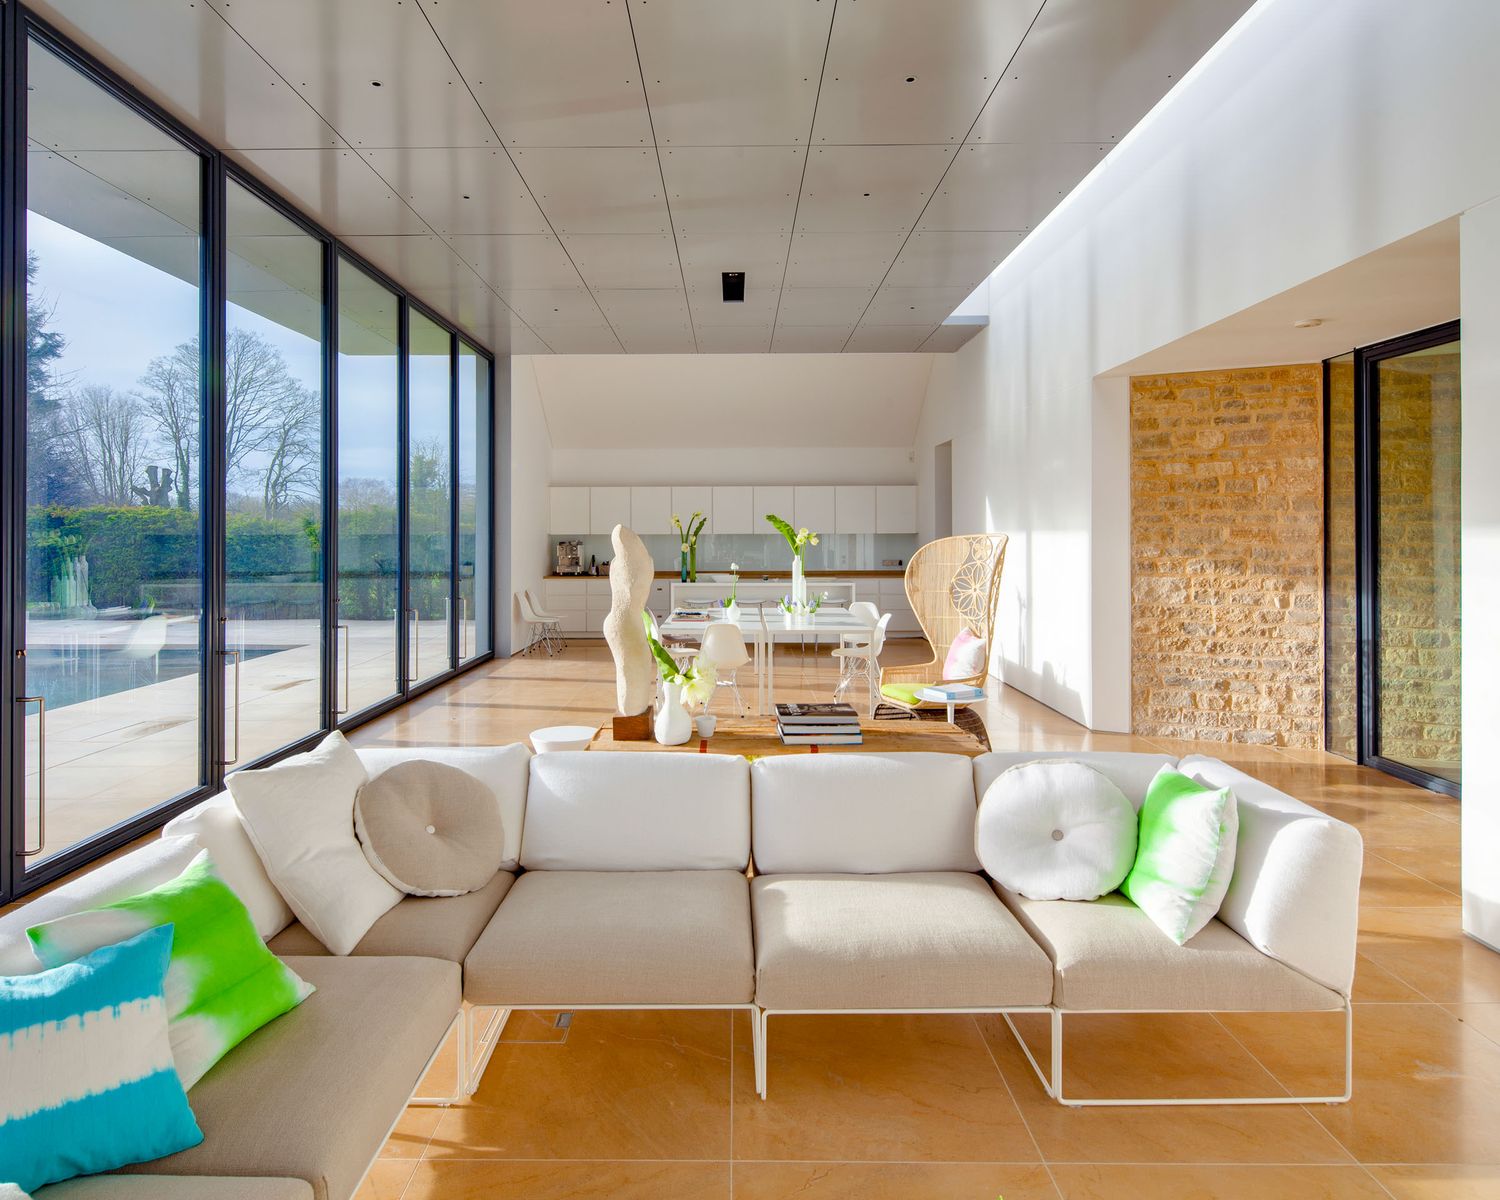
Prepare Interior Spaces
Interior photography rewards attention to detail.
Before the shoot, walk through every space as though you were seeing it for the first time.
Look for:
- Loose cables
- Empty noticeboards
- Damaged furniture
- Bins
- Delivery boxes
- Cleaning equipment
- Personal items that distract from the design
- Other items that may detract from the space and design
The aim is not to create an unrealistic environment. Rather, it is to remove visual distractions that compete with the architecture.
For occupied workplaces, we generally recommend creating spaces that feel lived-in but organised. A small amount of activity often feels more authentic than a perfectly staged room.
Interior Preparation Checklist:
- Desks organised
- Furniture aligned
- Windows cleaned
- Lighting checked
- Blinds adjusted
- Cables hidden where possible
- Temporary notices removed
- Waste bins emptied
- Fire extinguishers removed or hidden
- Surfaces and floors cleaned
- Style the interior; add props, furniture, models to the space
Consider the Time of Year
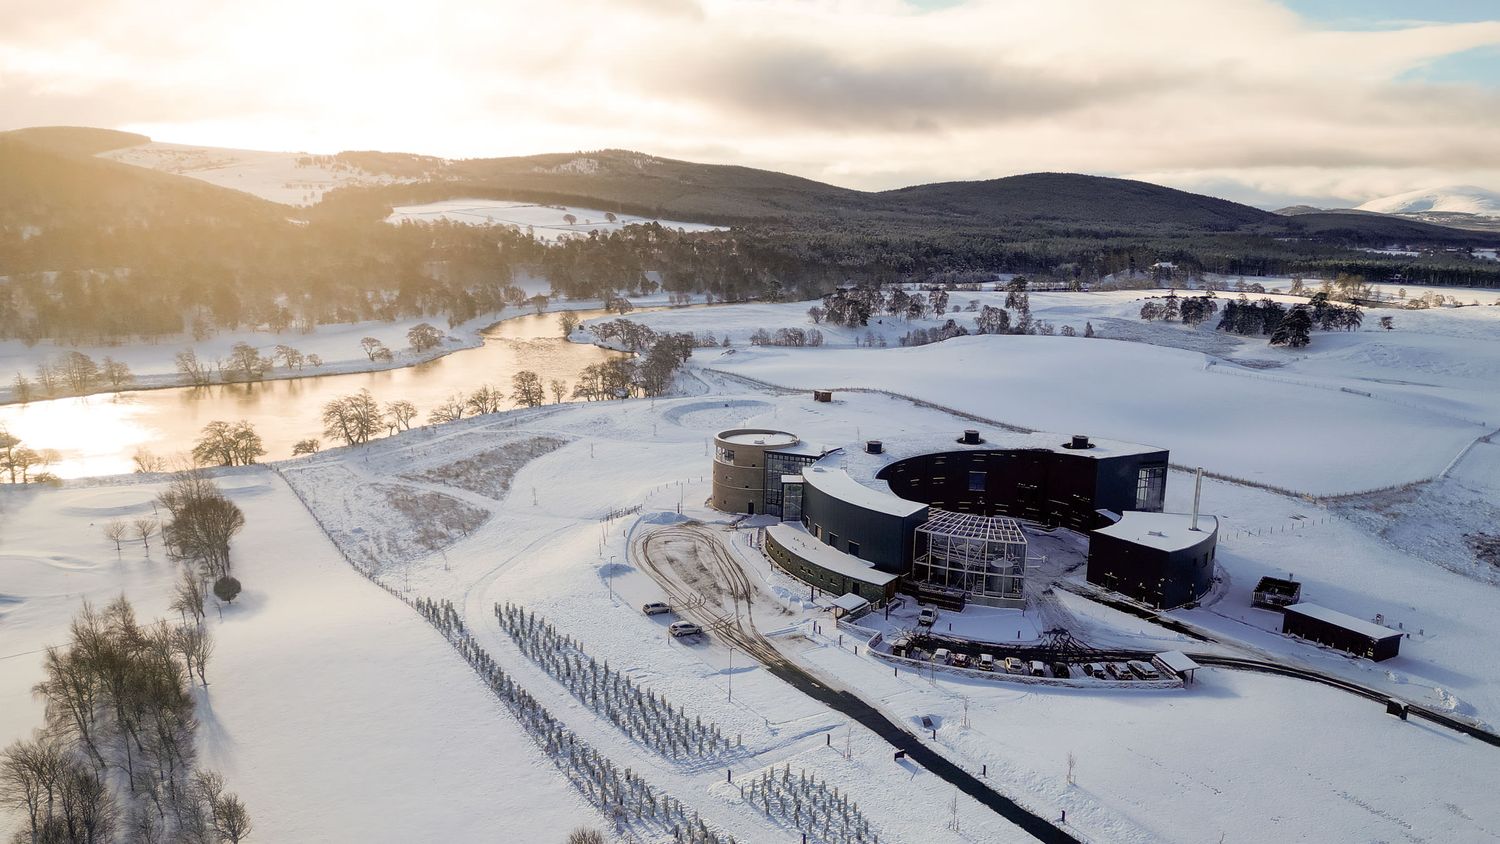
The same building can look dramatically different depending on the season.
Factors to consider include:
Sun Position
The orientation of a building determines when façades receive direct sunlight. A south-facing elevation may benefit from an entirely different shooting schedule than a north-facing one.
Landscaping
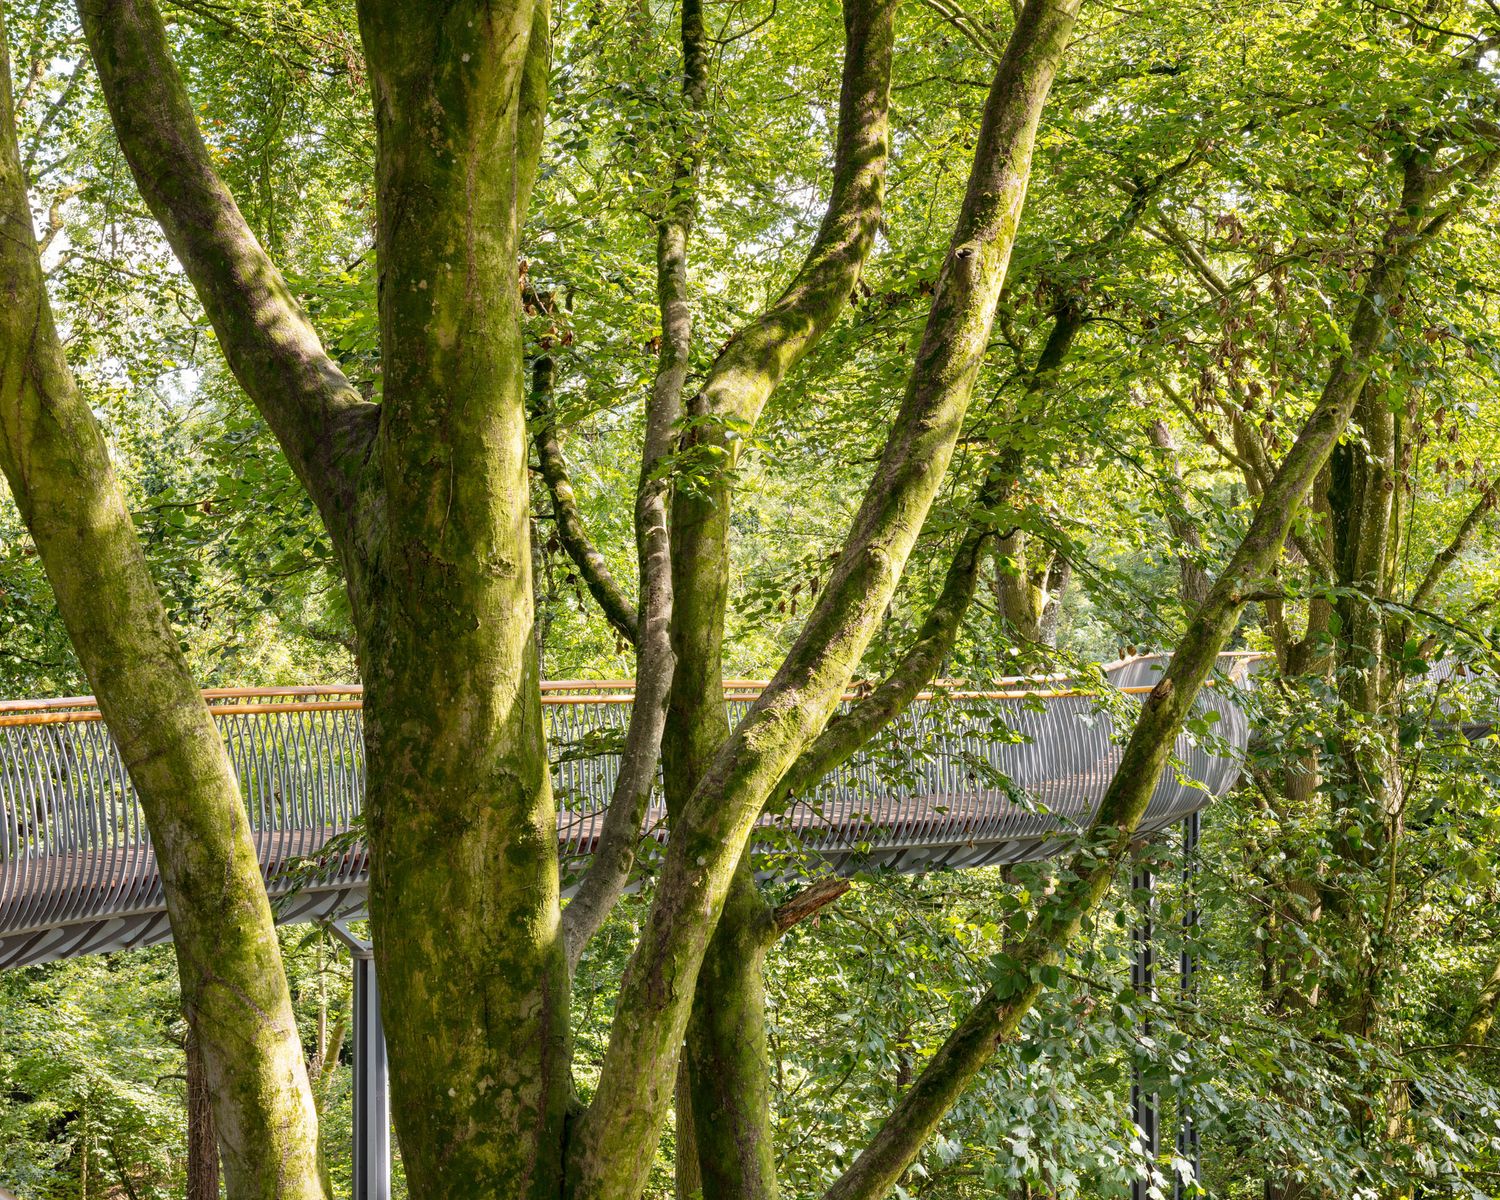
If landscape design forms an important part of the project, consider whether plants have had sufficient time to establish.
Occupancy Patterns
Schools, offices, cultural buildings and residential developments often have periods of peak activity that may be beneficial, or problematic, depending on the intended images.
Weather Flexibility
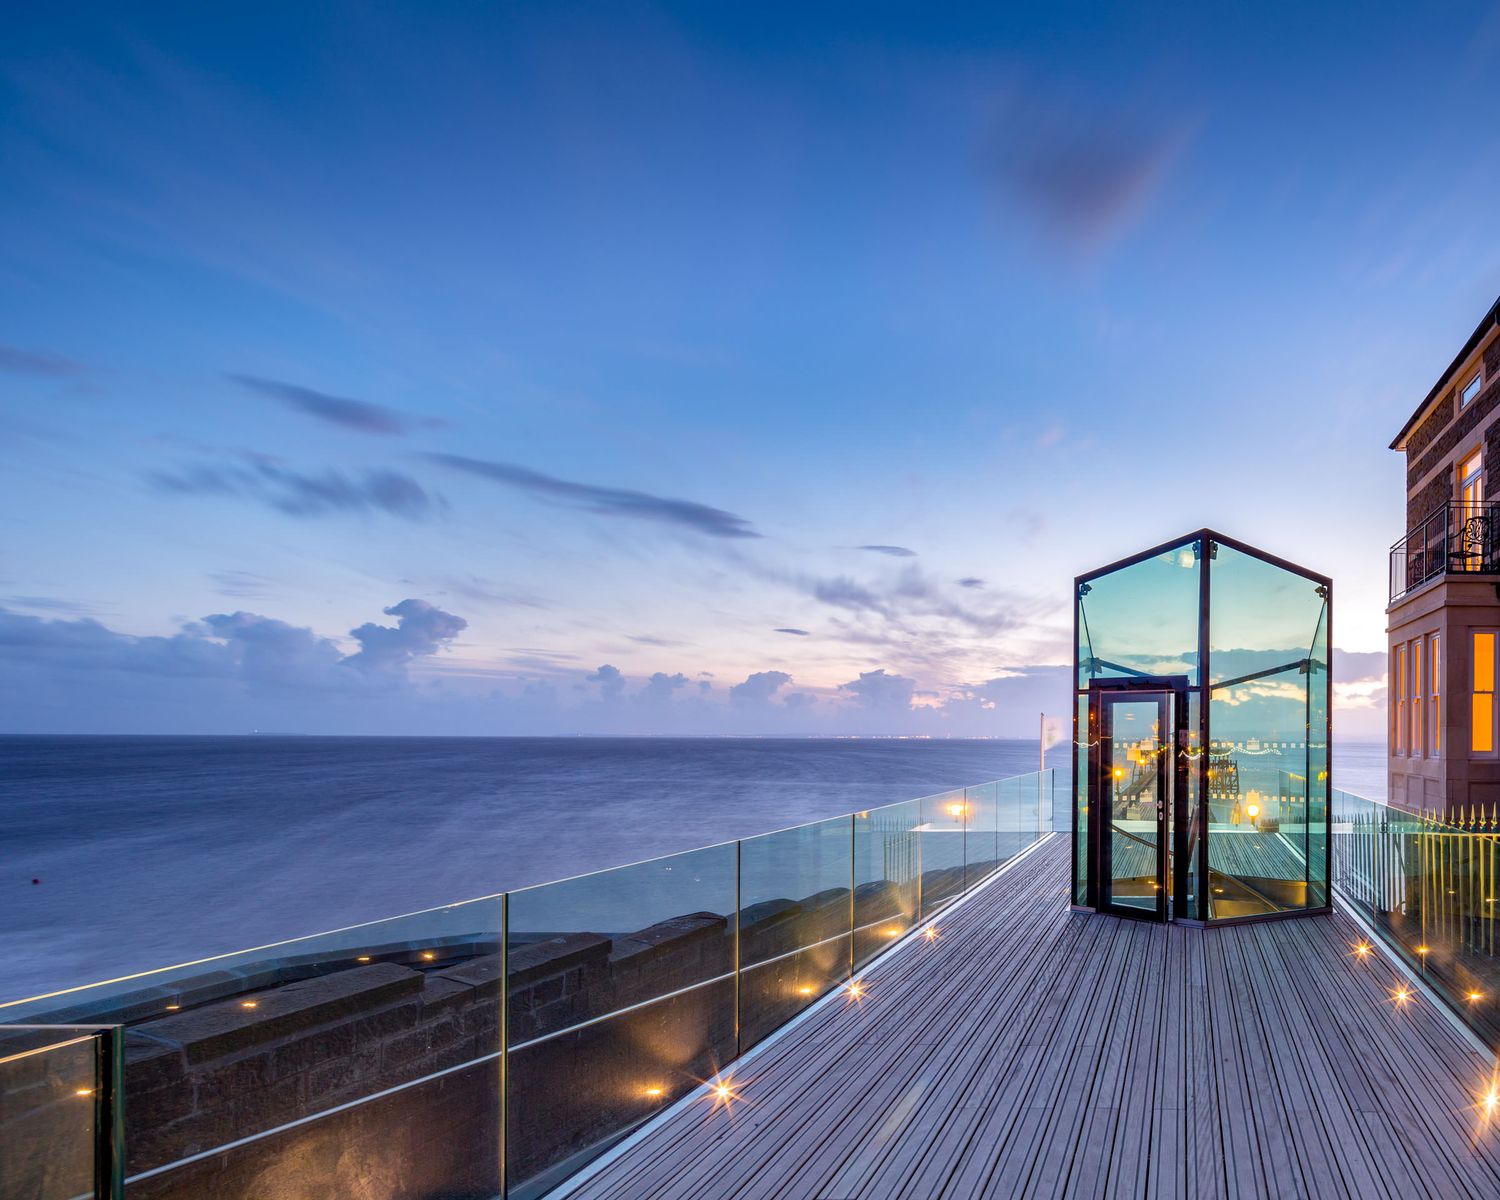
The most memorable architectural photography does not always happen on bright summer days. A blue sky is our default shooting conditions but there are other possibilities. Soft overcast light can reveal materials beautifully. Mist, rain and changing skies can also add atmosphere and character. Building some flexibility into the schedule allows the photographer to respond to conditions
Share the Design Story
The best photographers want to understand the thinking behind a project, not simply its appearance.
Before the shoot, share information about:
- Design objectives
- Key architectural features
- Sustainability strategies
- Materials and detailing
- Client aspirations
- Award submissions or publication plans
This context helps identify which images are most important and ensures the photography reflects the intentions of the design team.
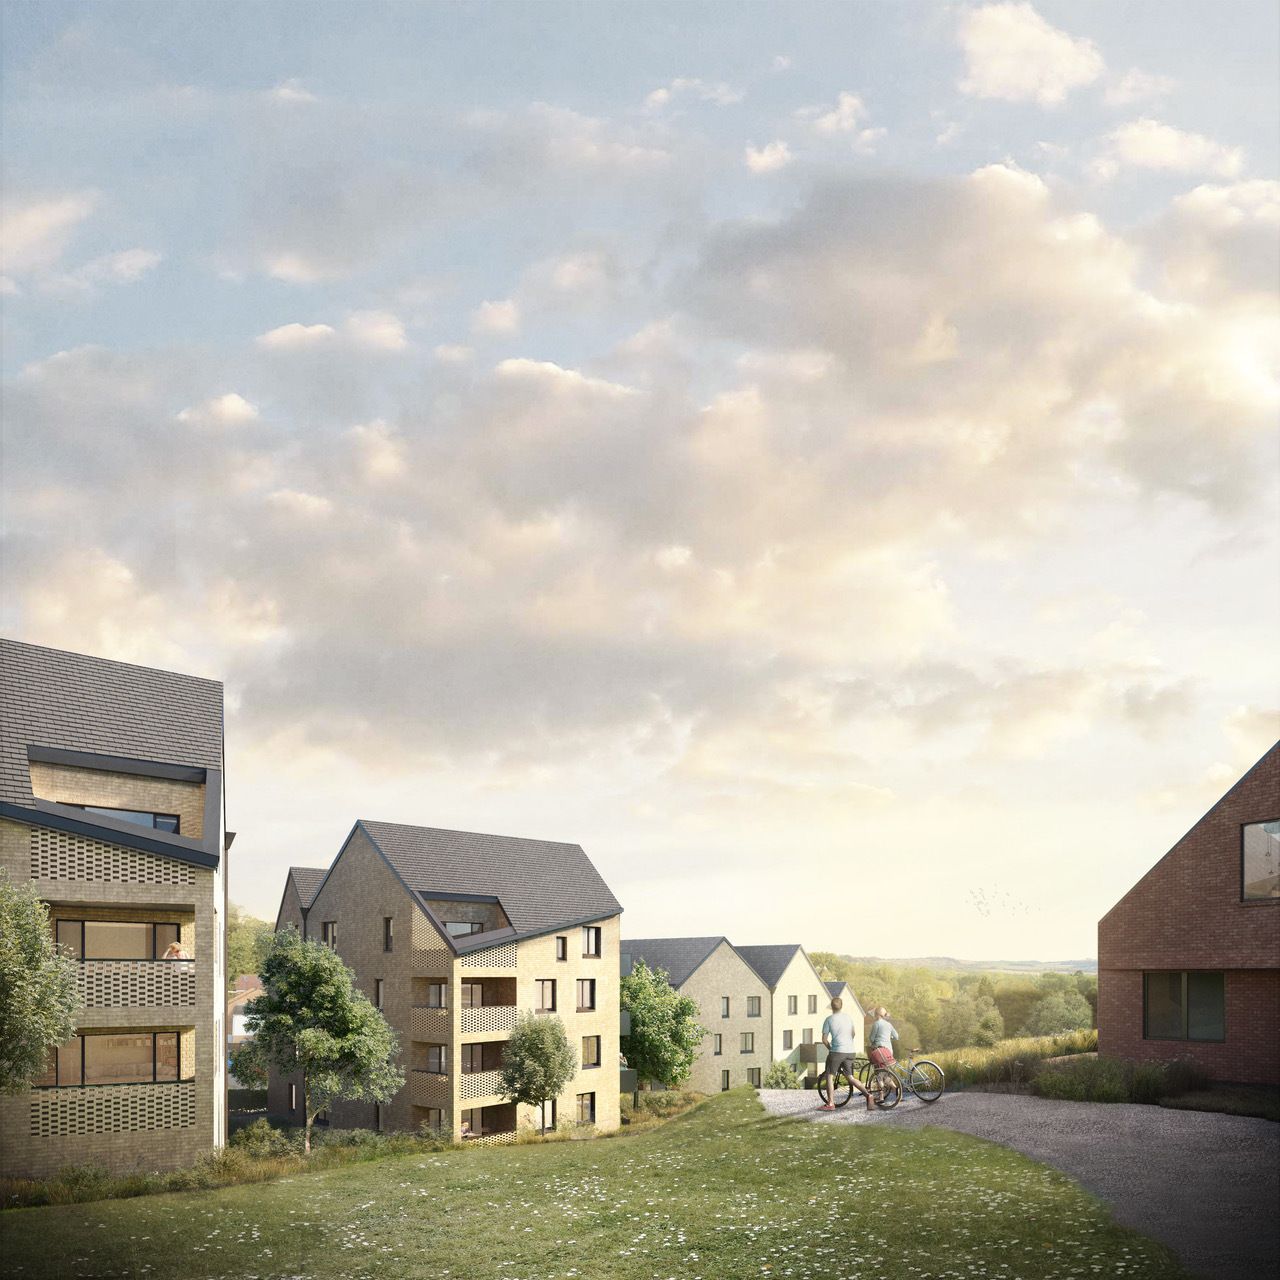
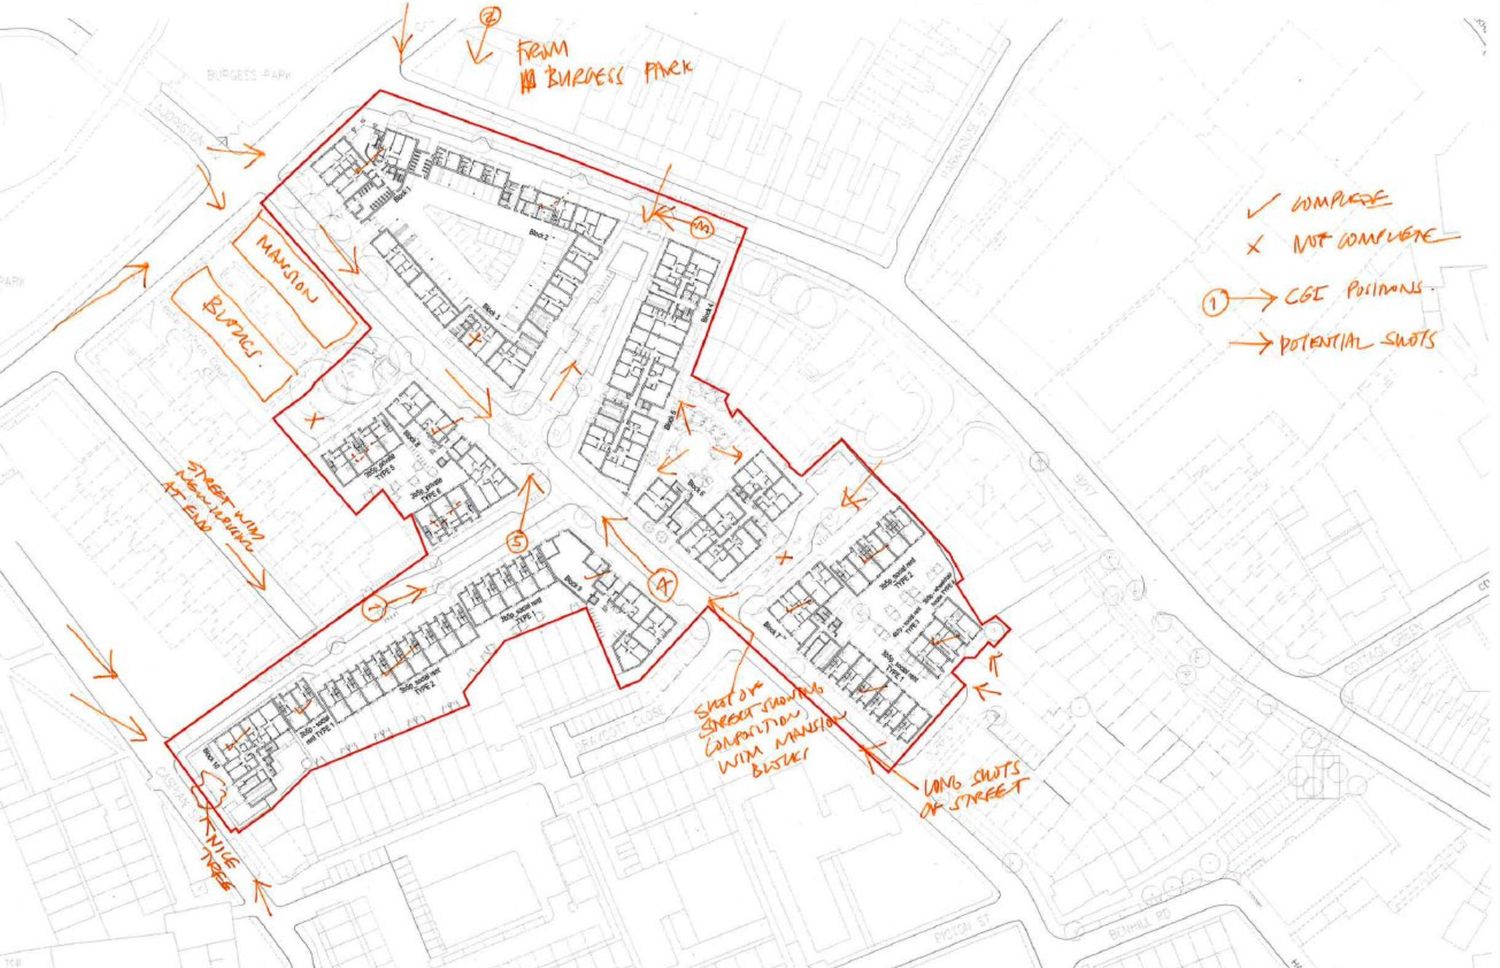
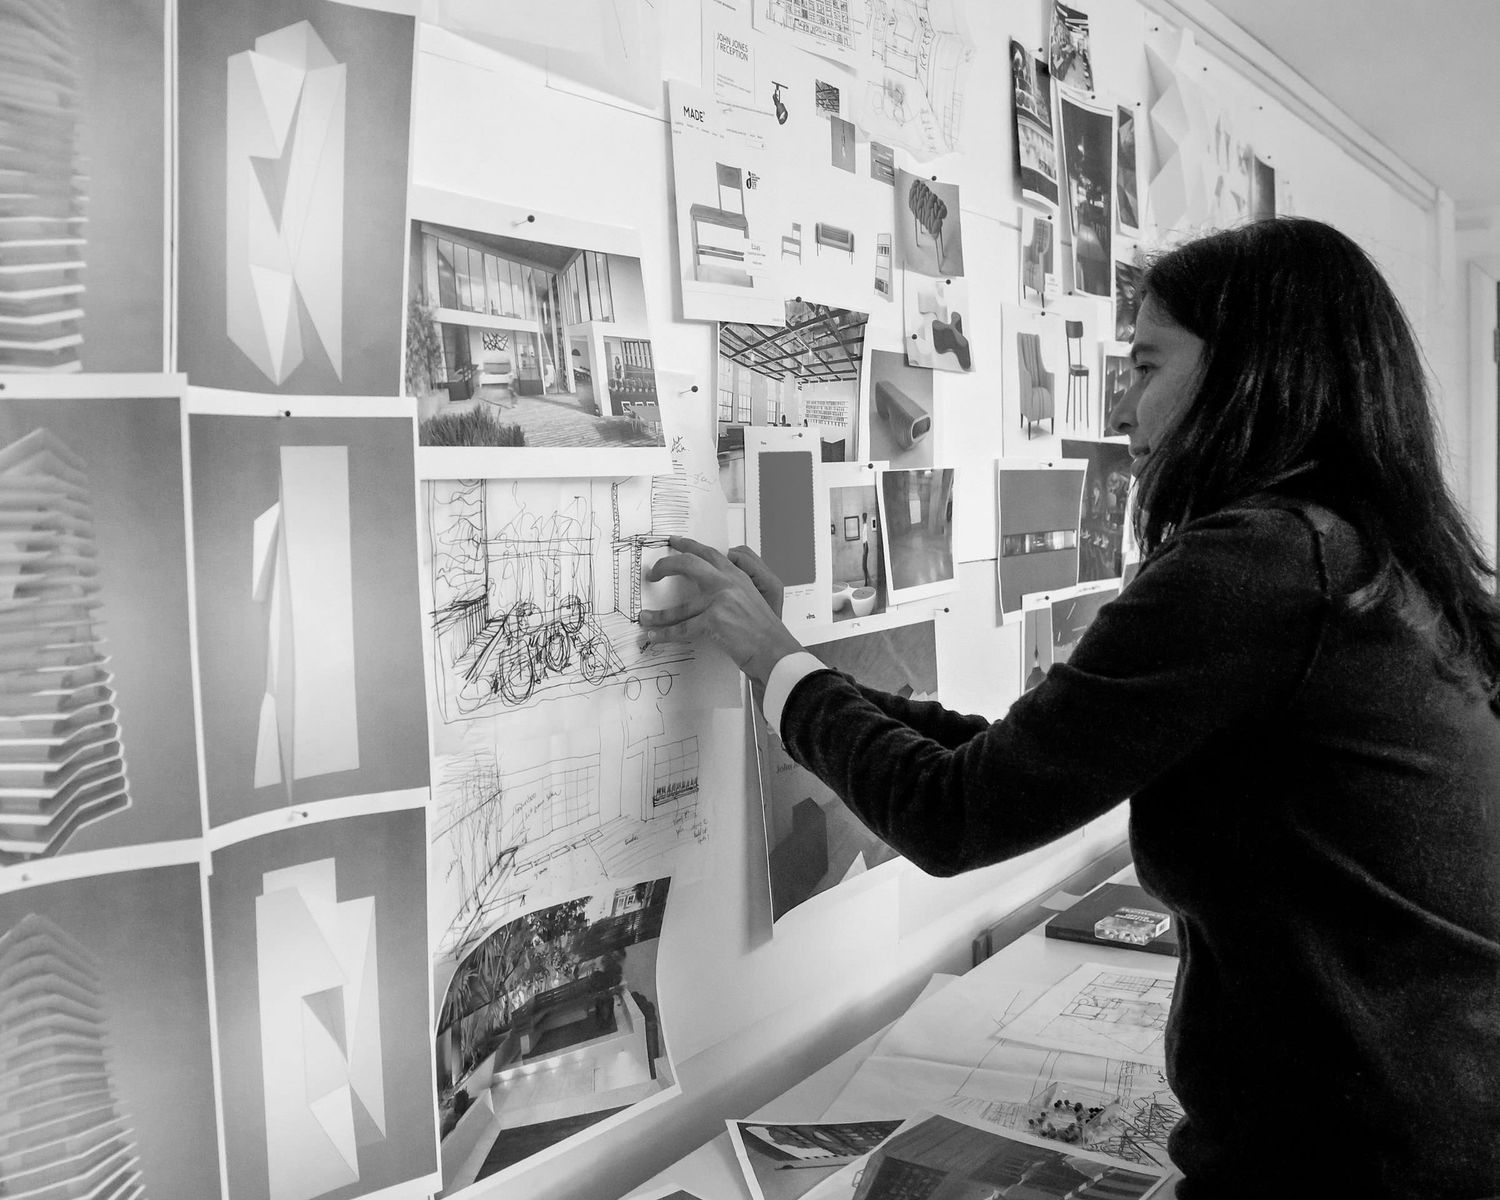
A short project description, drawings, visualisations, or an architect's statement can be extremely helpful.
Create a Shot Priority List
Most projects contain far more photographic opportunities than can realistically be captured in a single day.
A simple priority list can be invaluable. Prioritisation helps ensure the most important images are secured first if weather, access or time become constraints. For example:
Essential Images
Primary exterior view
Main public spaces
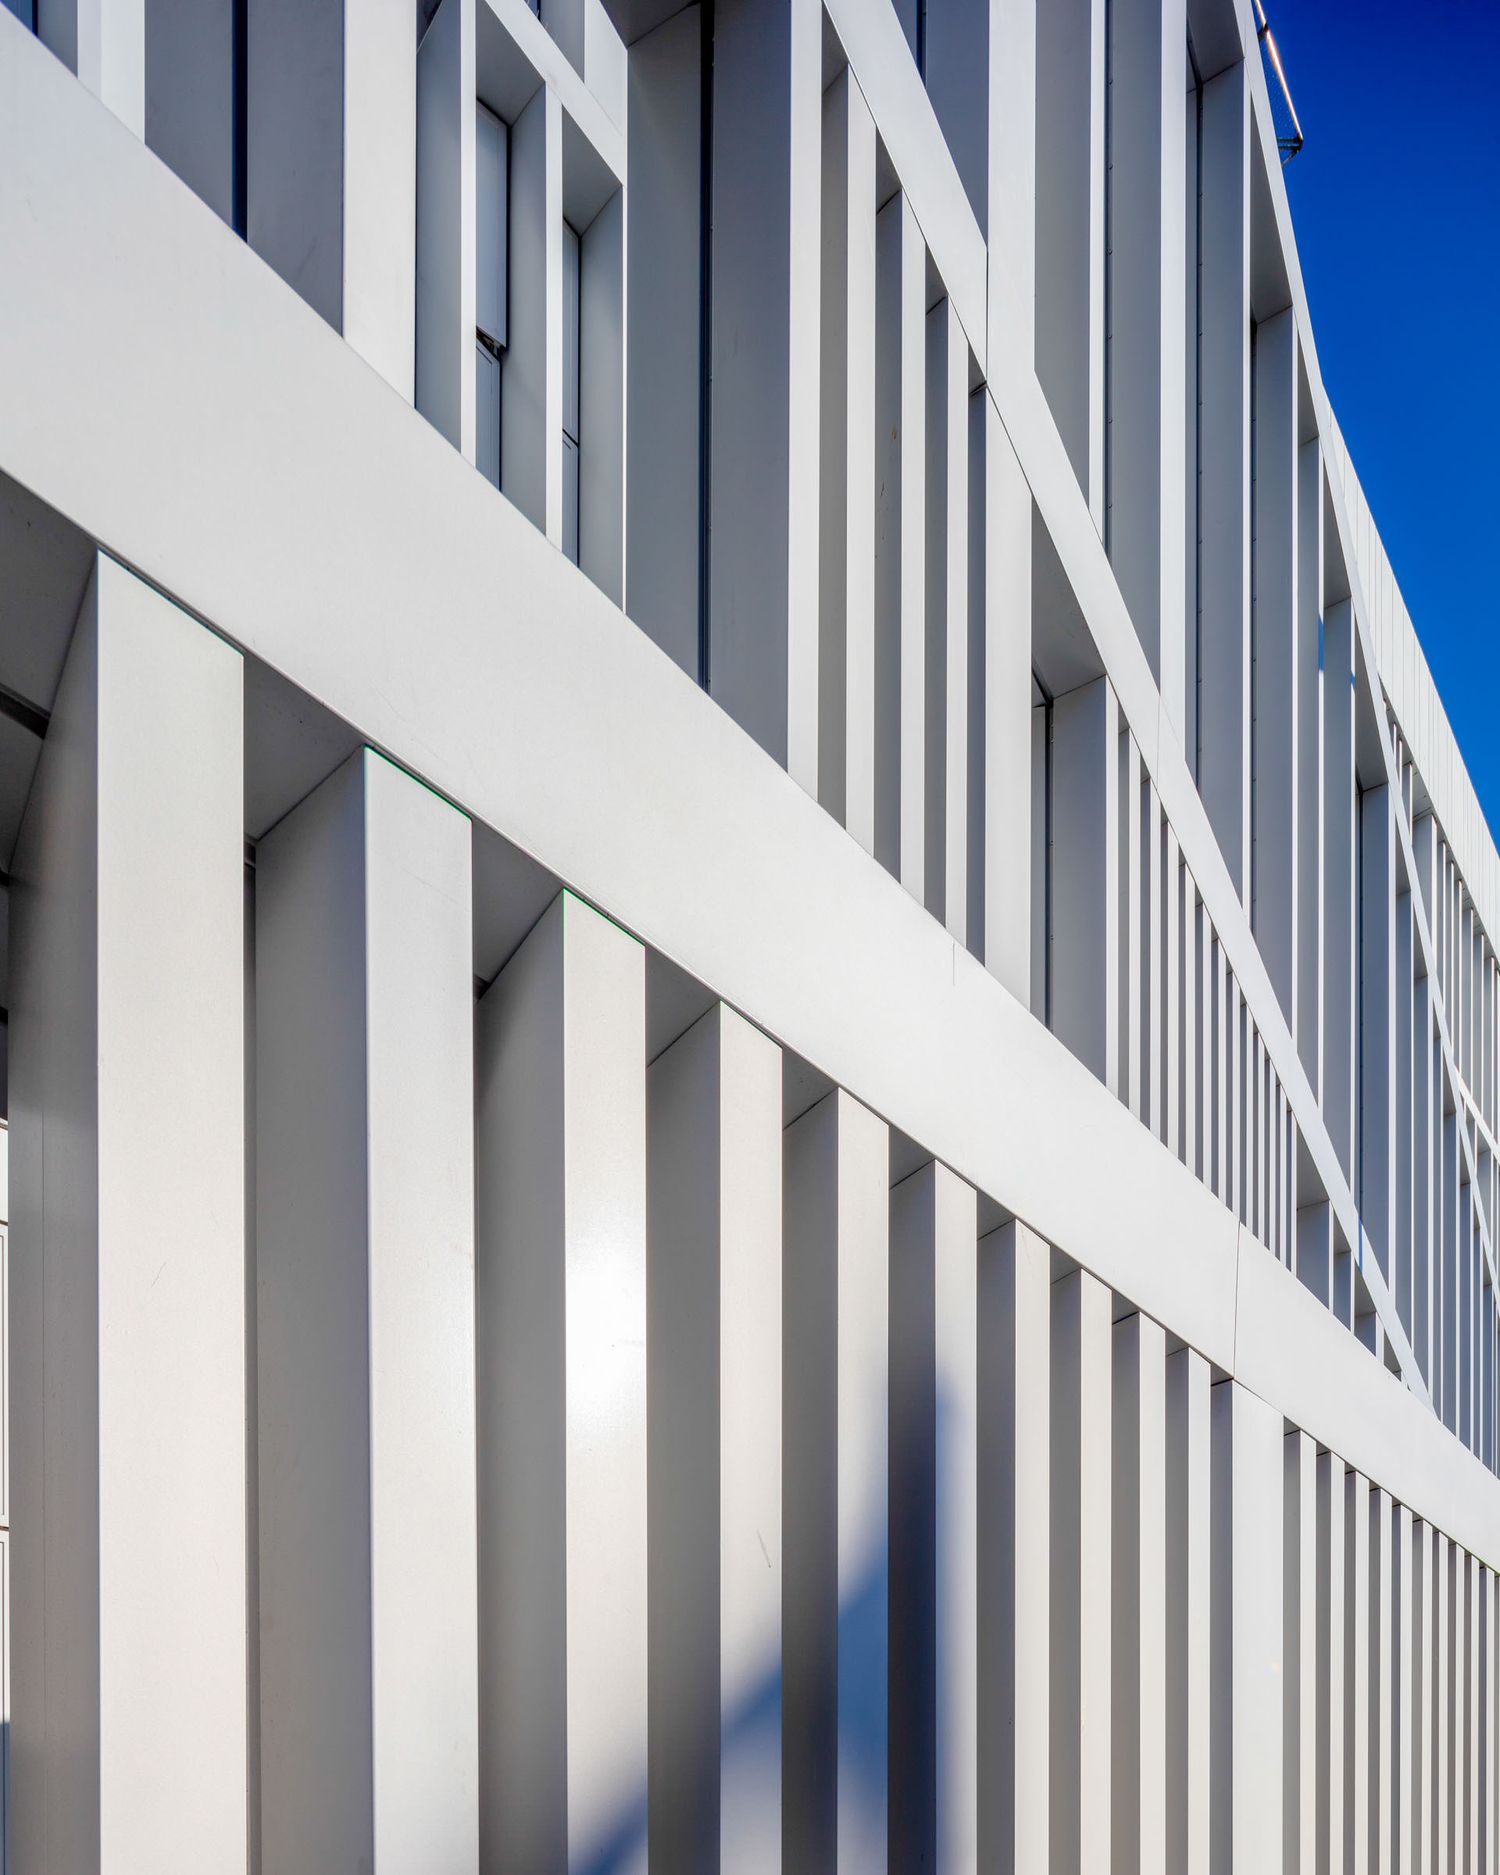
Key façade details
Important Images
Secondary elevations
Landscape integration
Occupied spaces
Desirable Images
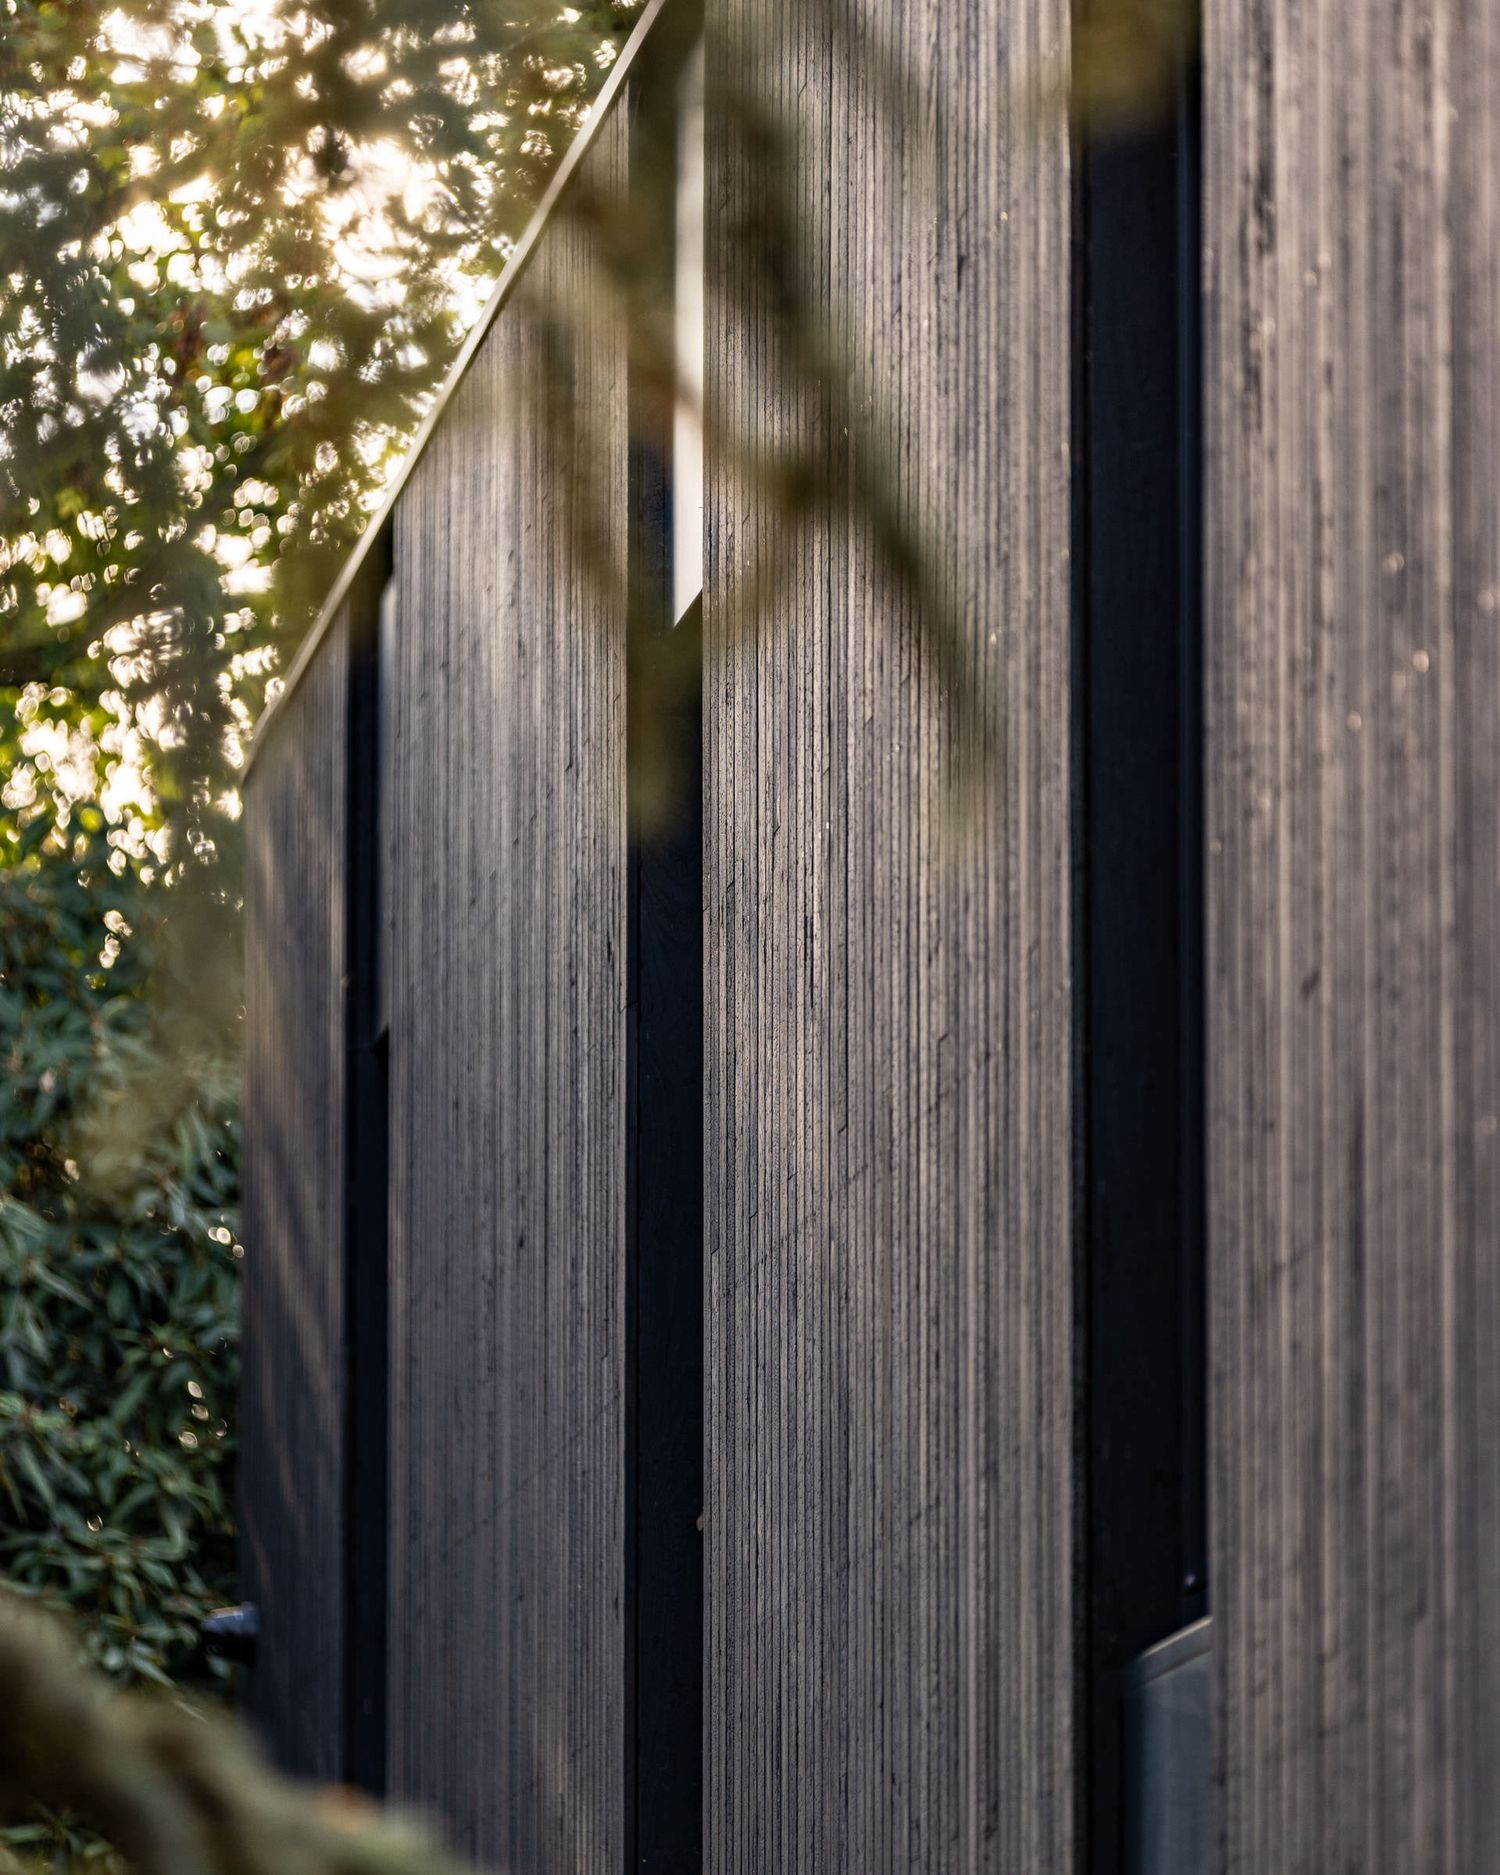
Abstract details
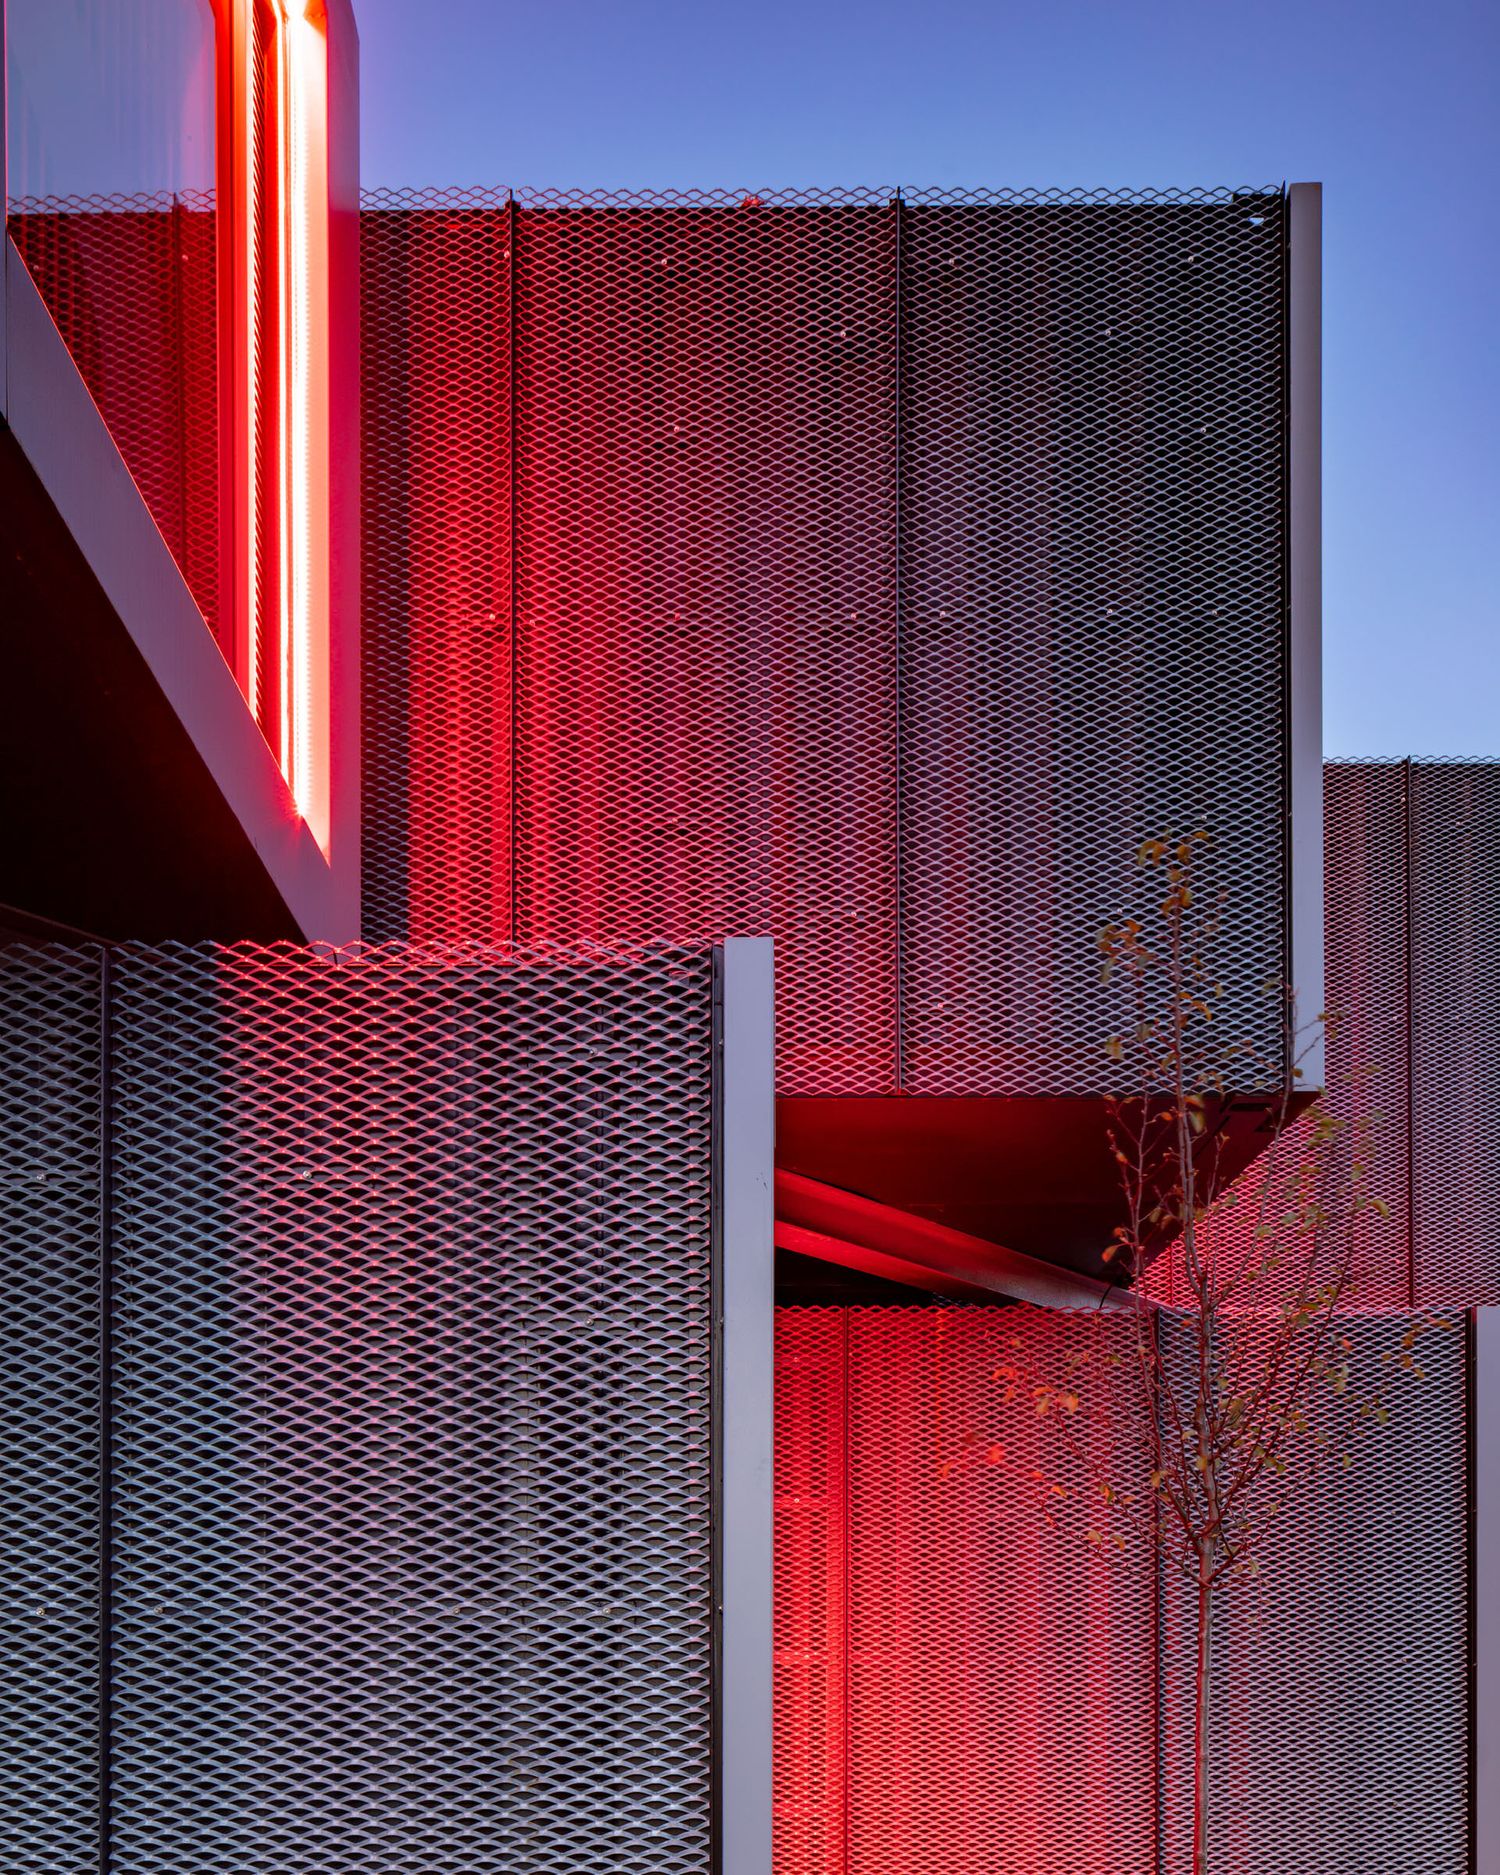
Evening photography
Additional marketing content
Not all photography serves the same purpose.
Before commissioning a shoot, consider where the imagery will be used.
Different uses may require different approaches, image formats and shot priorities.
Examples include:
- Practice websites
- Award submissions
- Press and editorial features
- Social media campaigns
- Tender documents
- Marketing materials
- Project launches
It can also be worth discussing:
- Drone photography and filming
- Panoramic and 360 images
- Architectural film
- Portraits of the design team
- Vertical imagery for social media
- Short-form video content
Having these conversations early helps ensure the shoot delivers maximum value.
Partner With Your Photographer Early
The strongest architectural photography is usually the result of collaboration.
Involving your photographer before construction is complete can help identify the ideal season, lighting conditions and occupancy scenarios for the project.
It also reduces the risk of scheduling a shoot before the building is truly ready.
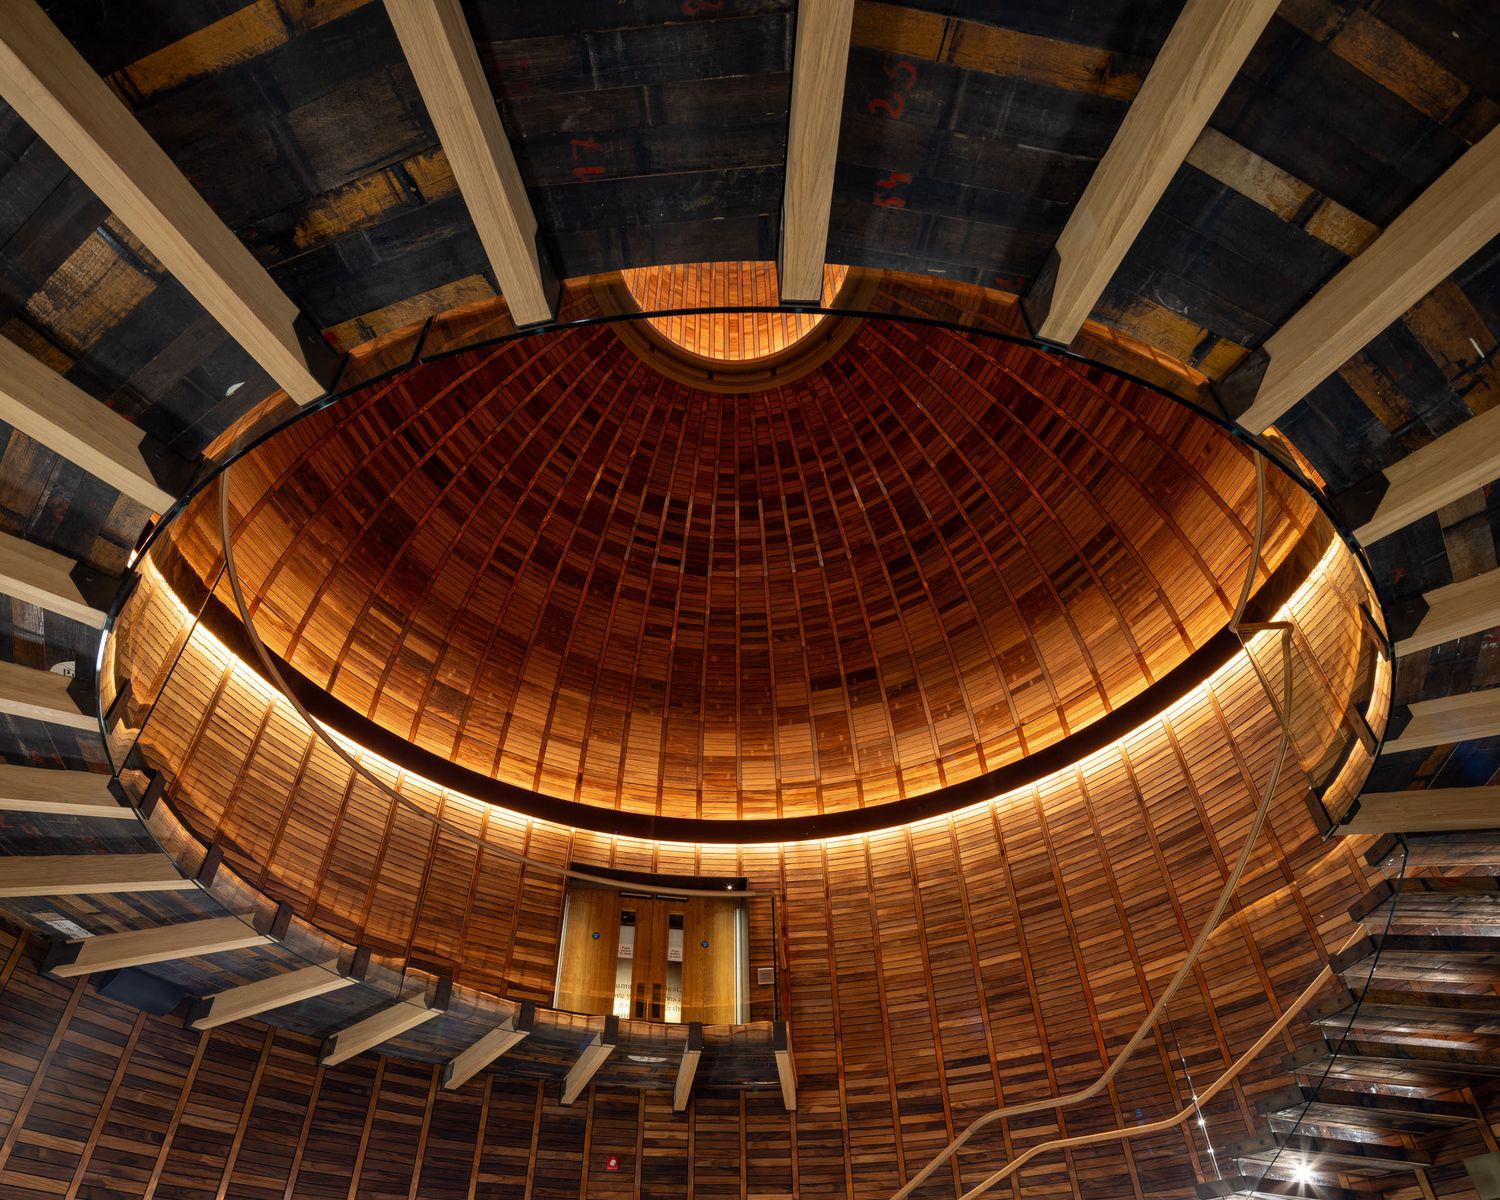
Final Thoughts
Great architectural photography begins with great preparation.
When a project is completed, cleaned, occupied appropriately and photographed at the right moment, the resulting imagery can support publications, awards, websites, marketing campaigns and business development for years to come.
At Fotohaus, we work closely with architects, developers and designers to plan shoots around the unique qualities of each project. The more preparation that happens before the shoot, the more effectively the photography can communicate the architecture itself.
About the author
This Field Note was written by the Fotohaus team. Drawing on decades of experience documenting architecture and the built environment, we share practical guidance, project insights and reflections on photography, design and visual communication. Our team brings expertise from across architecture, construction, sustainability, journalism and photographic practice.